Plesk 8 (Linux) reseller series
16. How to create a custom button
This demo assumes you've already logged in to Plesk
Now let's learn how to create custom buttons in Plesk
1) Click the Custom Buttons icon here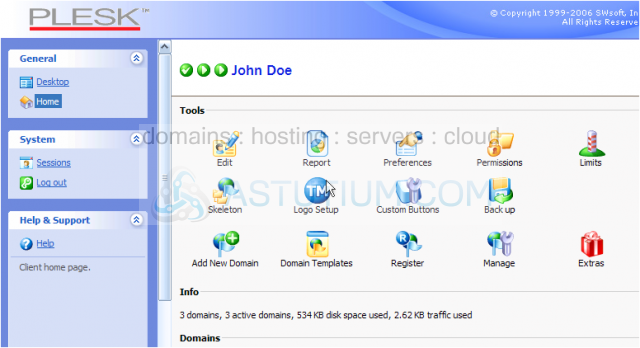
2) Click Add New Button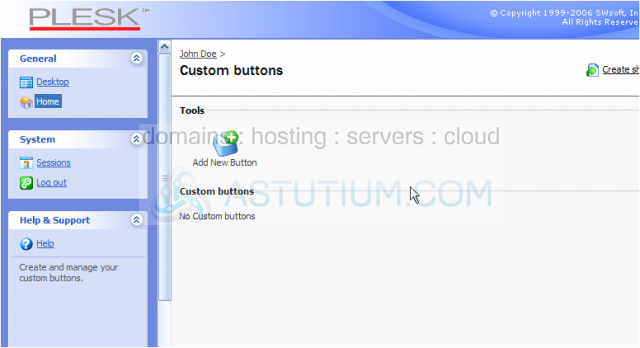
This is the page where you can setup your own custom buttons in Plesk..... buttons for your own Plesk control panel, and/or your customers
You can create buttons to act as quick links to other commonly visited URLs
3) Let's go ahead and add a custom button to our Plesk control panel..... enter the new button's label
4) You can choose to have the new button displayed in the domain owner's desktop/homepage, the client's desktop/homepage, or the navigation panel
The priority level is how you control the order in which the new button is displayed; if you have more than one custom button, the one with the smaller priority number will be displayed first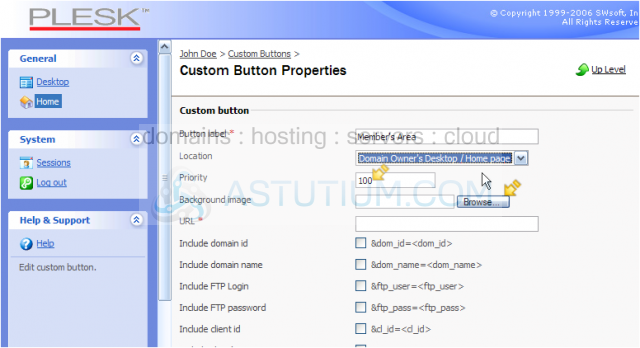
If you've designed a custom button graphic for this new link, you can locate and upload it using the browse tool here. If no custom graphic exists, a standard button image will be used
5) Now enter the URL the user will be directed to after clicking the new button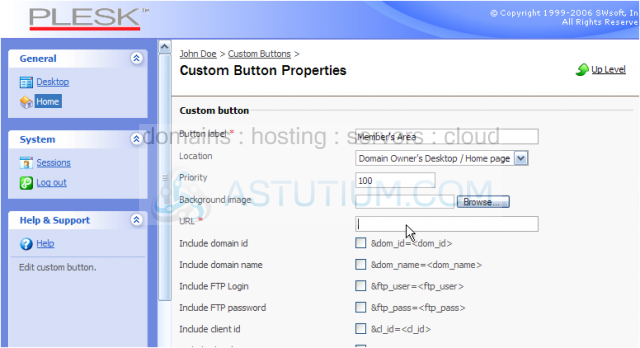
Scroll down
6) Enter the text you want displayed in the help window, when a user hovers over the new button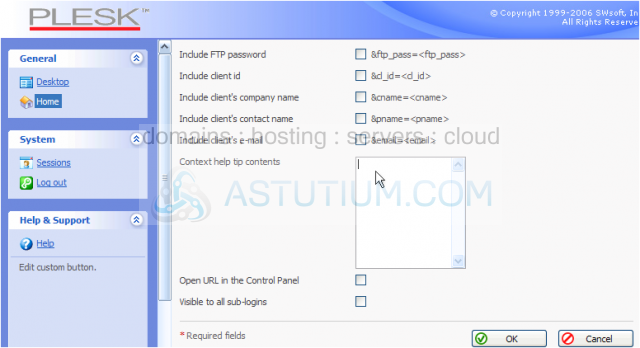
7) Check here if you want the new button available to all your customers as well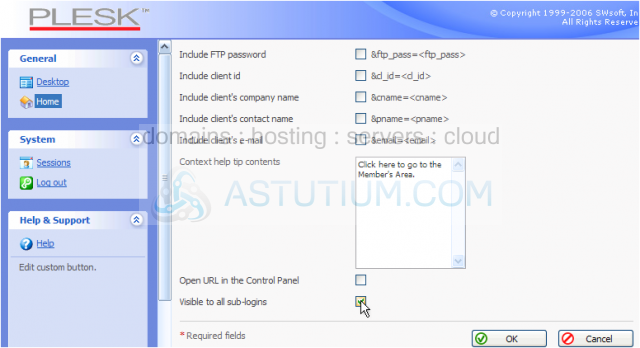
8) Click OK button when finished
That's it! The new custom button has been created..... let's go take a look
Scroll down
9) Click the demo1234.com link here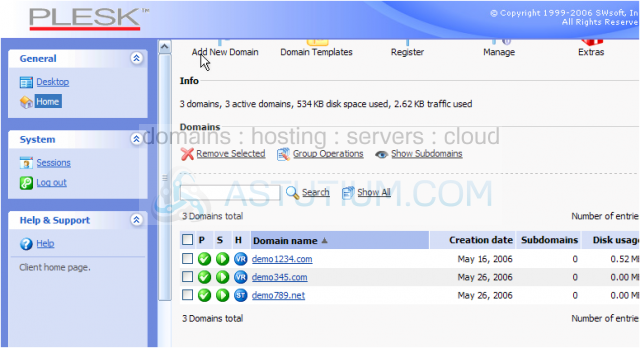
Scroll down
There it is!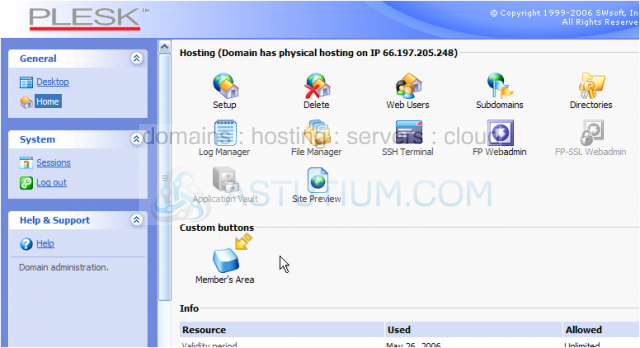
Notice the custom help note is displayed here when we hover over the new button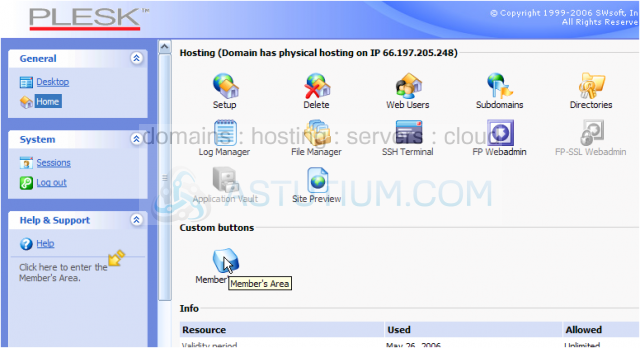
This is the end of the tutorial. You now know how to create new custom buttons within Plesk, to be displayed and available for you and your customers