Plesk 8 (Linux) reseller series
18. How to manage DNS zones
This demo assumes you've already logged in to Plesk
Now let's learn how to manage our DNS zones in Plesk
Scroll down
1) Start by clicking the domain name, demo1234.com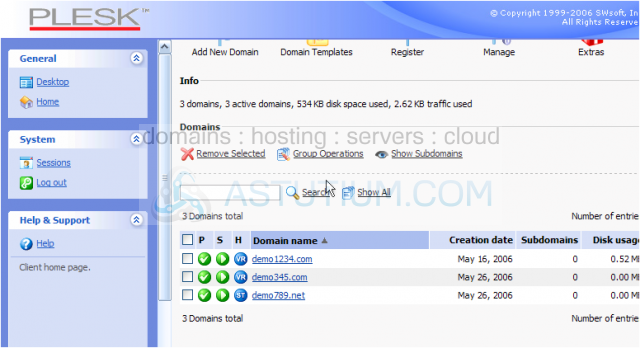
2) Click the DNS icon here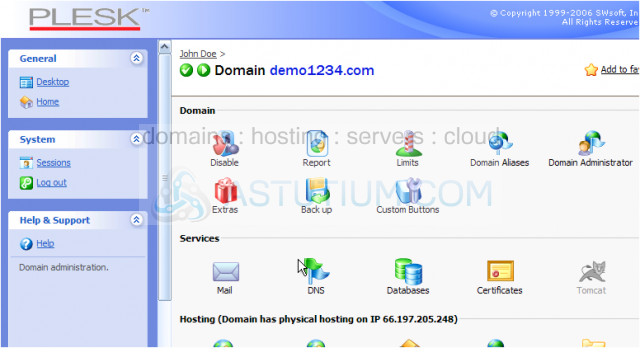
Scroll down
This is the main DNS page where you can add, modify or delete DNS zones to/from your account
Be careful if you are not familiar with managing DNS zones..... for the most part, Plesk manages them for you, so there's nothing you need to do here
But for the odd times that you may wish to manage DNS zones, we'll show you a quick example
3) Let's go ahead and add a new DNS zone..... click Add New Record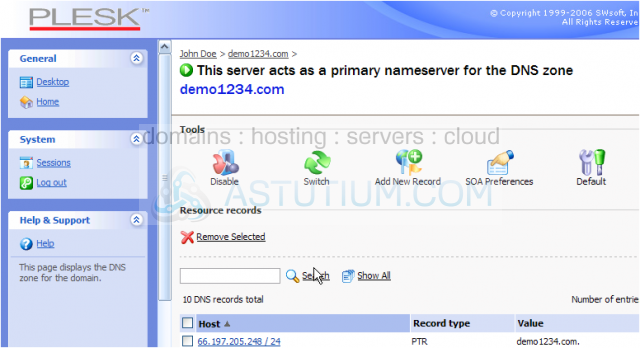
At the bottom of the page is a complete list of all DNS zones associated with the account we're managing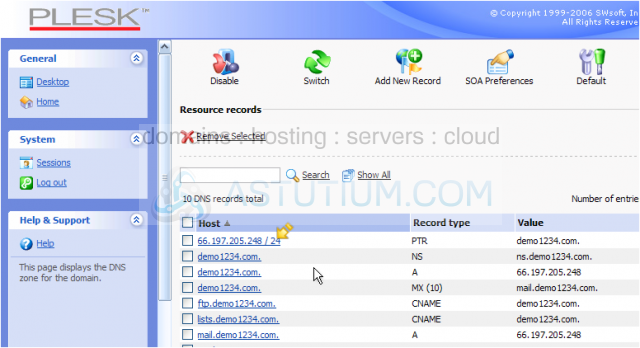
4) Choose the type of DNS zone to create.... for this example, we're going to create a nameserver zone.... so select NS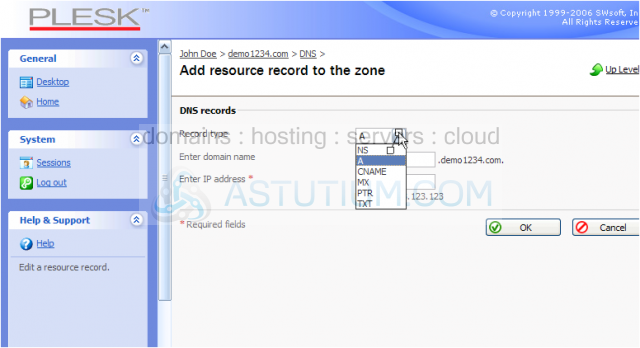
5) Now enter the new nameserver in this field here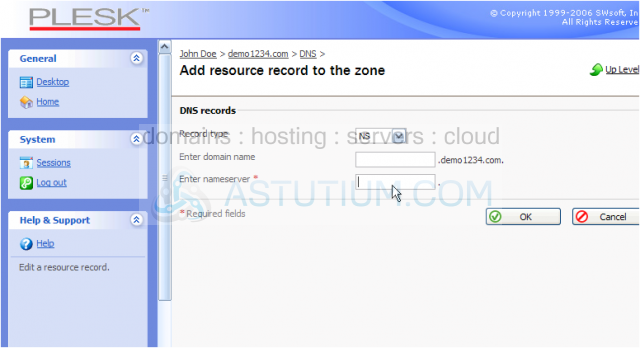
6) Click OK when finished
Scroll down
There it is..... the nameserver DNS zone we just created..... ns4.demo1234.com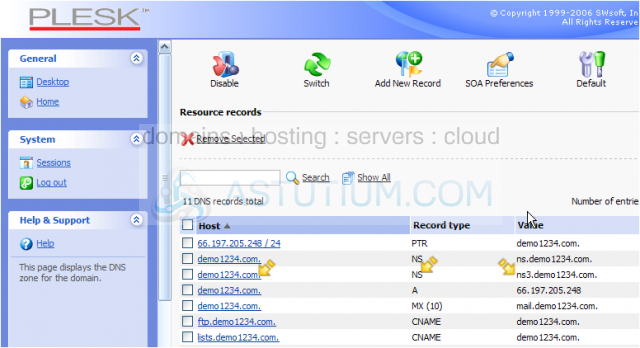
7) Let's go ahead and delete the DNS zone we just created..... select it here.....
8) Then click the Remove Selected link
9) Confirm the removal by clicking here, then click OK
That's it! We've just removed the DNS zone we created earlier
This is the end of the tutorial. You now know how to manage DNS zones in Plesk. Remember that you will rarely (if ever) have to manage any DNS zones..... if you do, be sure you know exactly what you're doing before proceeding