CMS Made Simple series
12. How to install CMS Made Simple via cPanel
This tutorial begins on the CMS Made Simple website at www.CMSMadeSimple.org
Now let's learn how to install CMS Made Simple into a cPanel account
1) Mouse over Downloads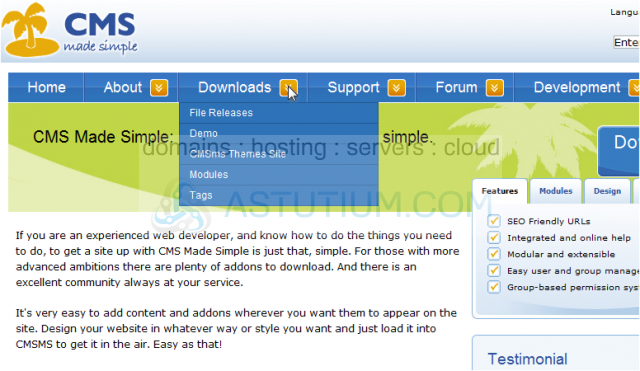
2) Click File Releases
This page lists all the full releases, upgrades, etc. In this tutorial we will be installing the latest full release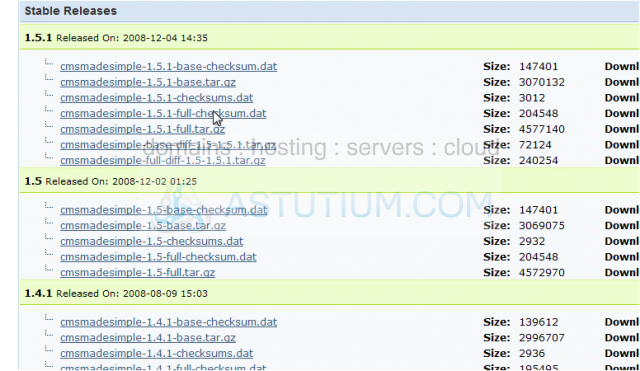
3) Click cmsmadesimple-x.x.x-full.tar.gz
4) Click Save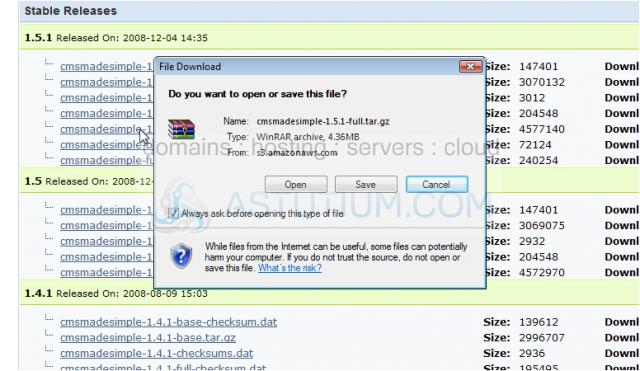
5) Once finished, click Close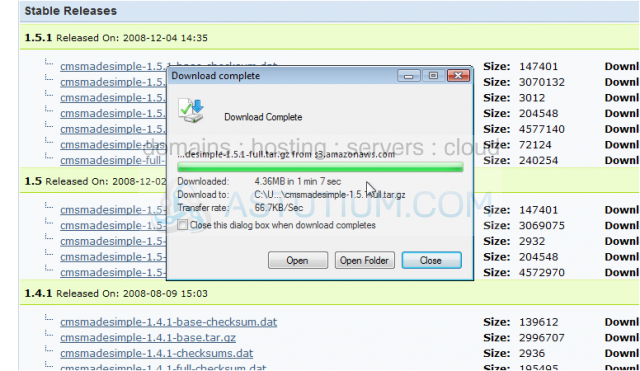
6) Now log into your cPanel. We'll start by creating a Mysql database for CMS Made Simple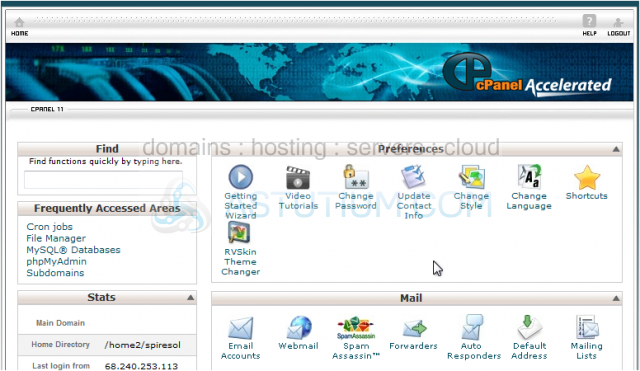
Scroll Down
7) Click Mysql Databases
8) Paste the database name here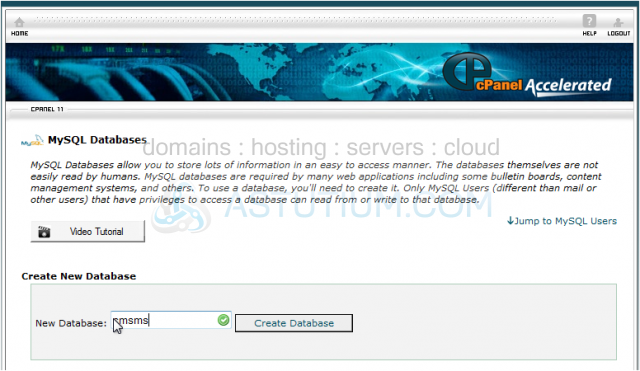
9) Click, Create Database
The database has successfully been created. Be sure to note the database name, you will need it in a few minutes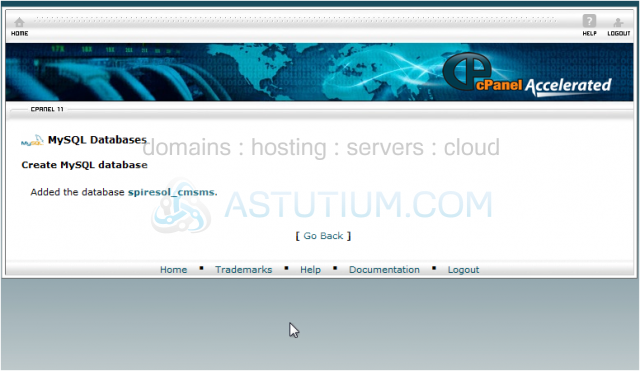
10) Click, Go Back
Scroll Down
11) Paste the database username here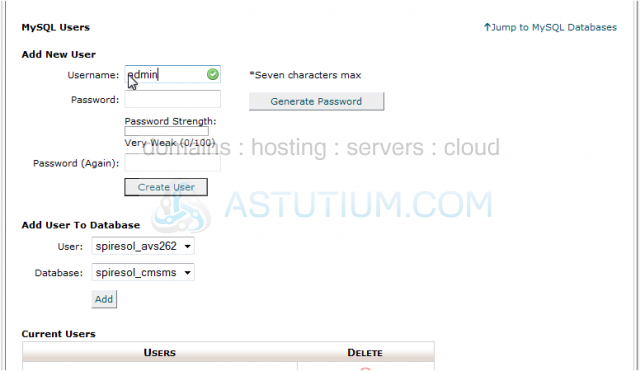
When creating a database user, you need to use the strongest password possible. This will dramatically help CMS Made Simple security
12) Click, Generate Password
13) Notice the password below. Be sure to note it as you'll need it again in a few minutes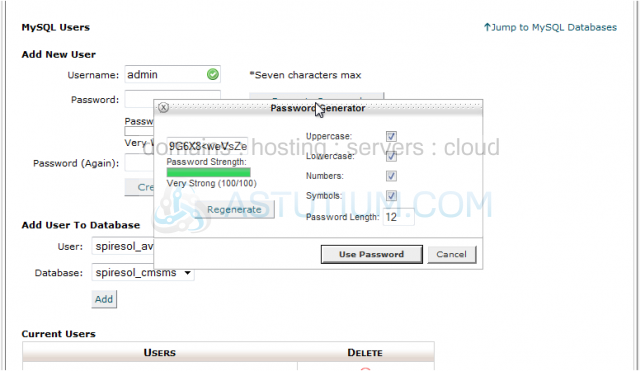
14) Make sure all below is checked for the strongest password
15) Click, Use Password
16) Click, Close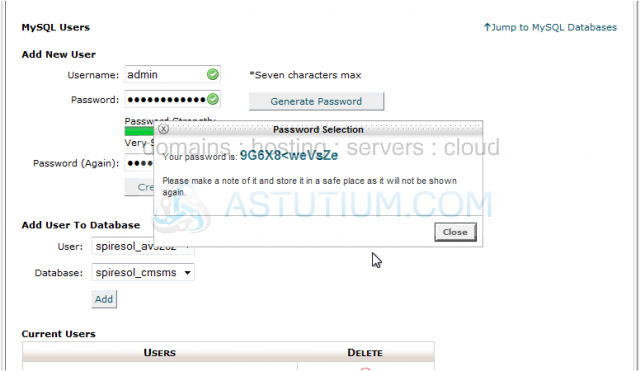
17) Click, Create User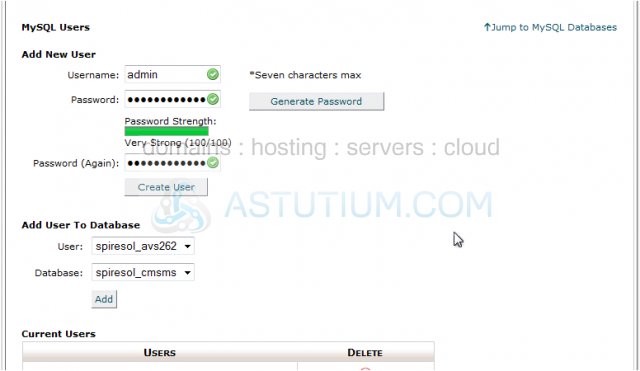
Note both the username and password below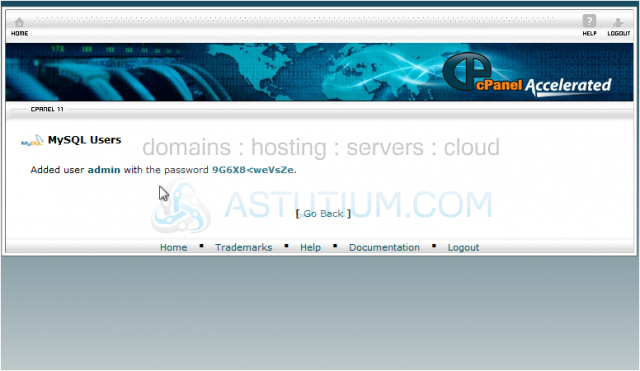
18) Click, Go Back
To finish the database steps, we need to assign the new username to the database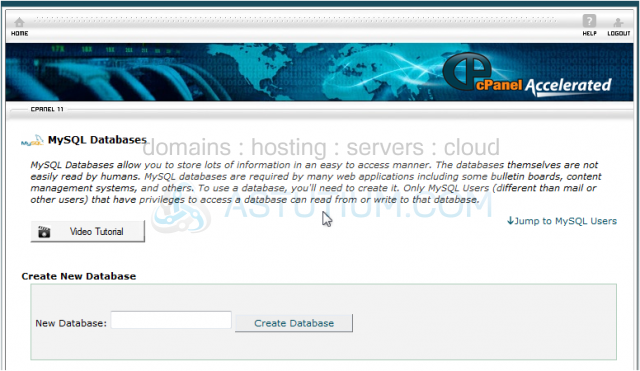
Scroll Down
19) Click, Add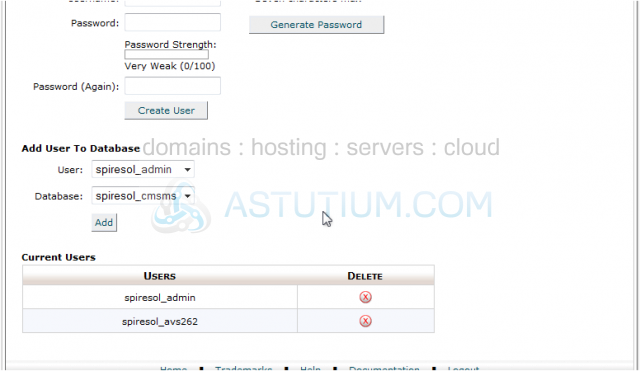
20) Click, All Privileges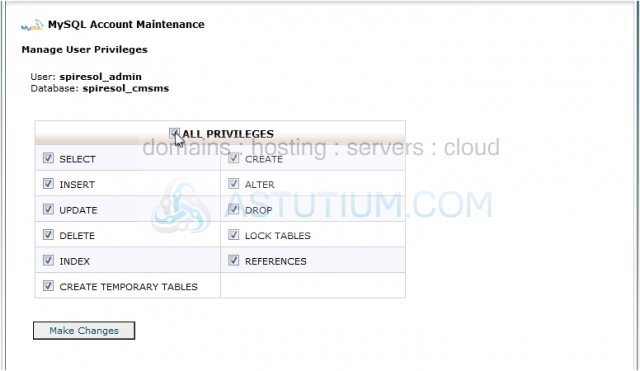
21) Click, Make Changes
22) Click, Go Back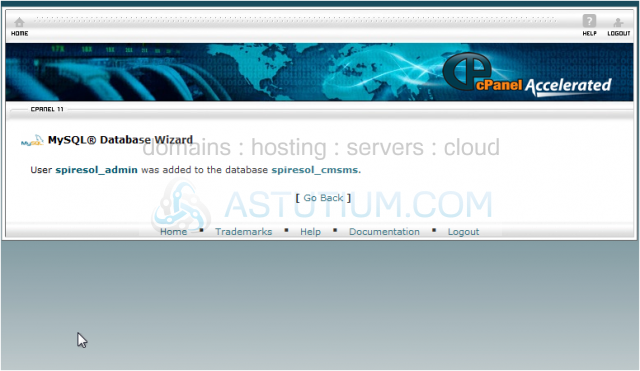
23) Click, Home
You have successfully created a Mysql database, created a user, and assigned the user to the new database
Lets now upload the CMS Made Simple archive to the server and get it ready to install
Scroll Down
24) Click, File Manager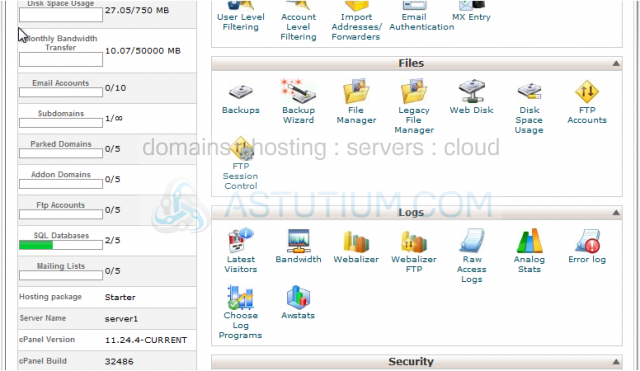
25) Double-click public_html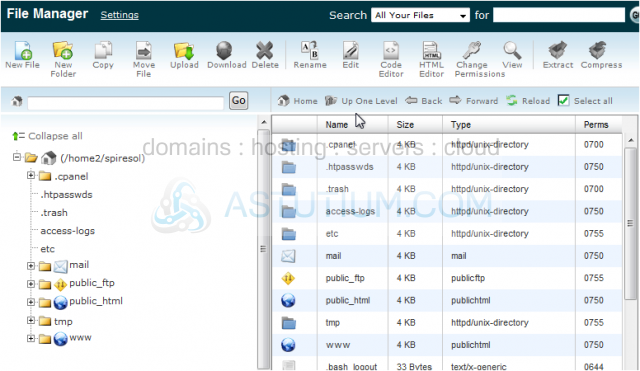
26) Click, Upload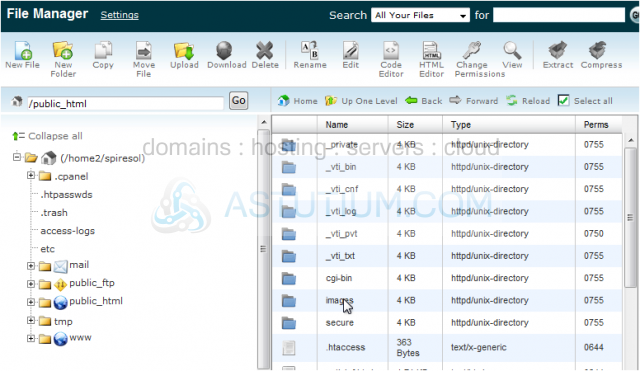
27) Click, Browse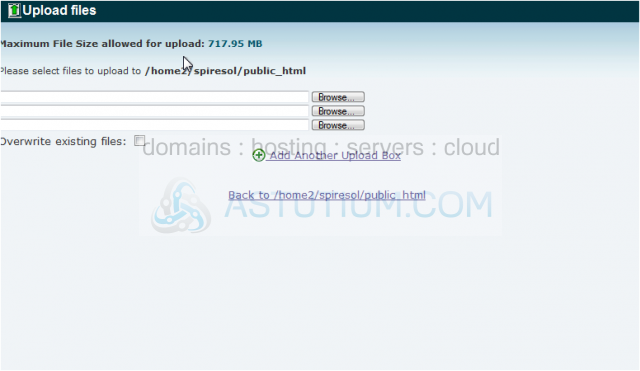
28) Browse your local computer to find the CMS Made Simple archive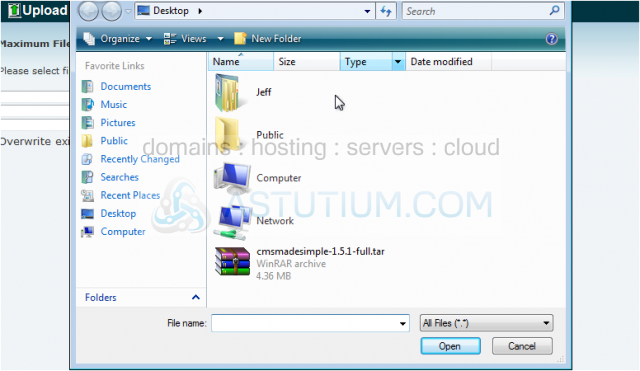
29) Once found, click cmsmadesimple-x.x.x-full.tar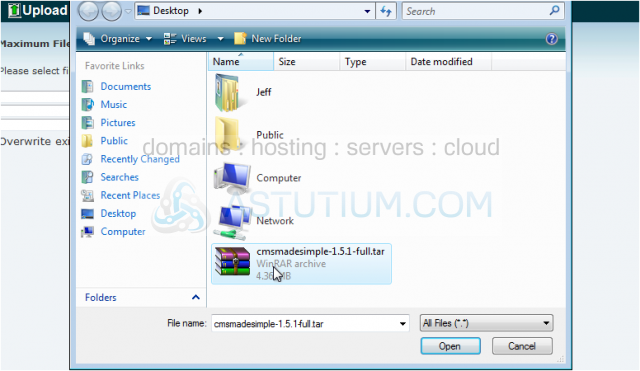
30) Now click, Open
The upload will now begin and place the archive within the public_html directory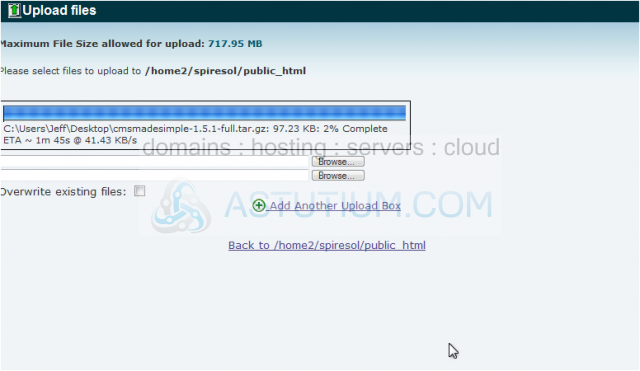
31) Once finished, click Back to...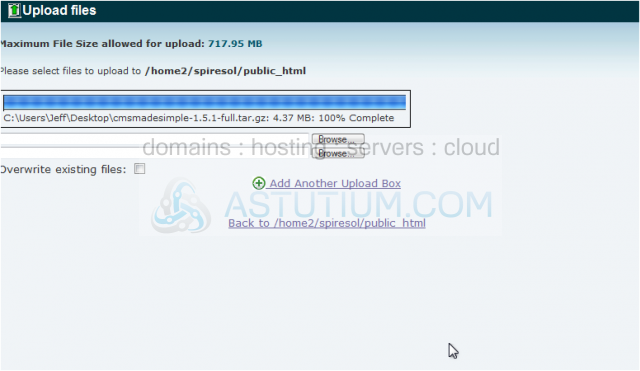
Scroll Down
32) Click on the file archive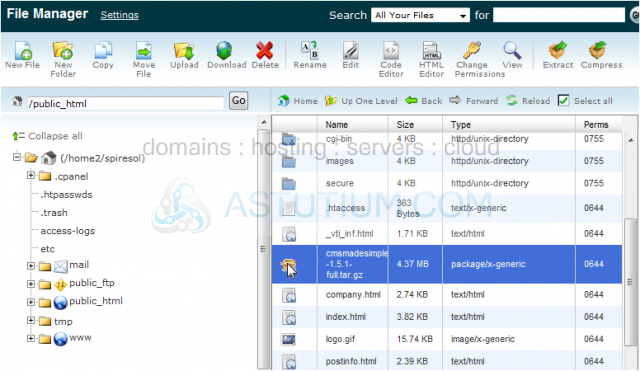
33) Click, Extract
34) Verify the extraction path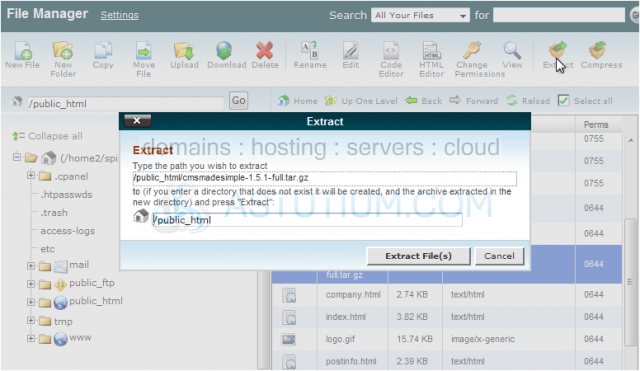
35) Once finished, click Extract Files
36) Once the files are extracted, click Close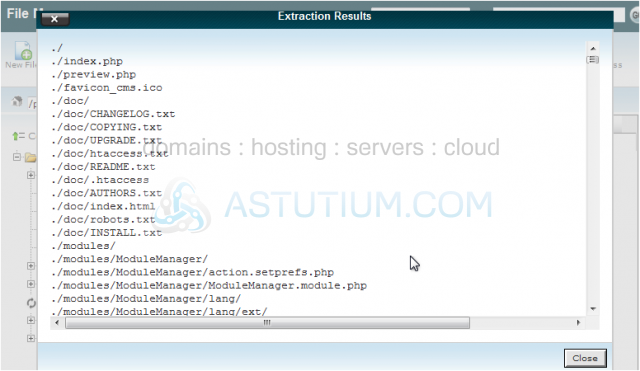
The next step is to make certain directories writeable
37) Click, TMP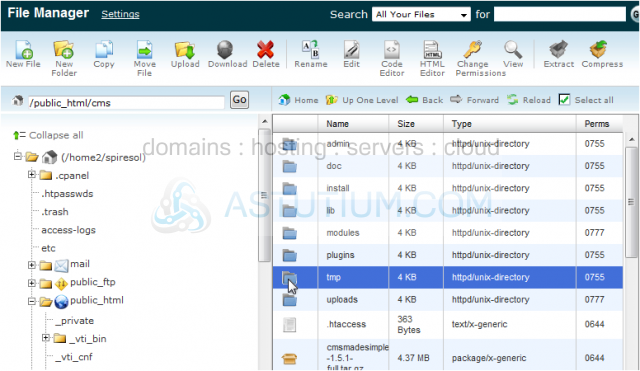
38) Click, uploads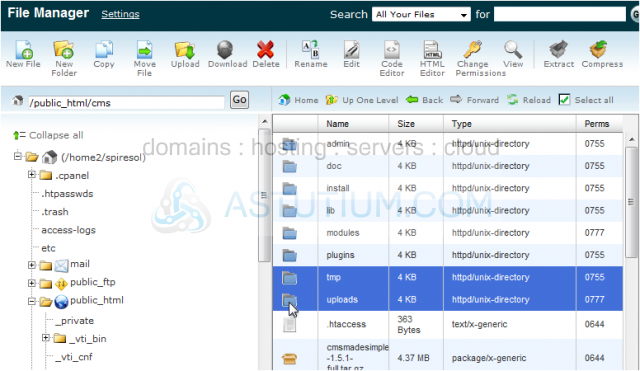
39) Click, modules
40) Click, Change Permissions
41) These directories need to have full write permissions. Lets change the permissions to 777
42) Click here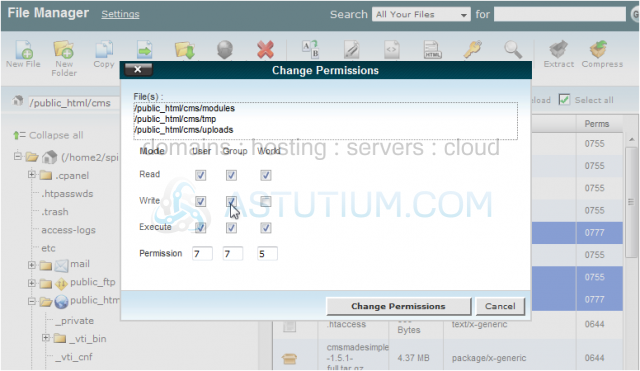
43) Click here
44) Once finished, click Change Permissions
Notice the new permissions
45) Double-click tmp
46) Click templates_c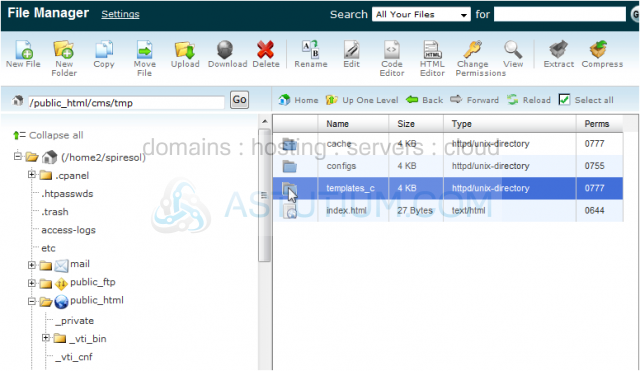
47) Click Cache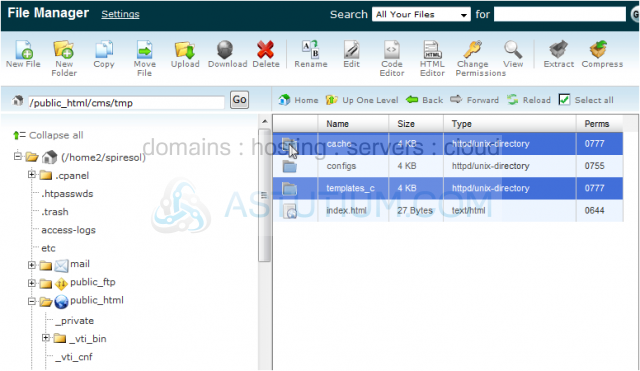
48) Click, Change Permissions
49) Click here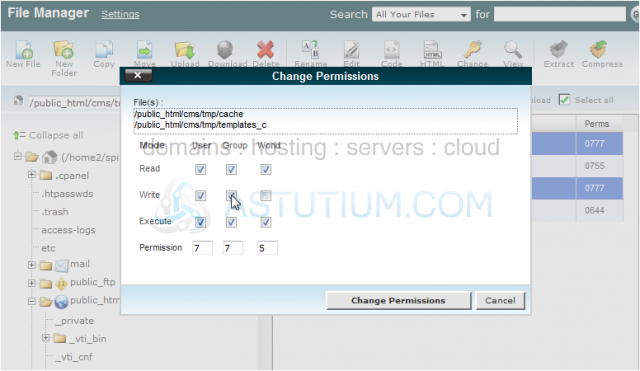
50) Click here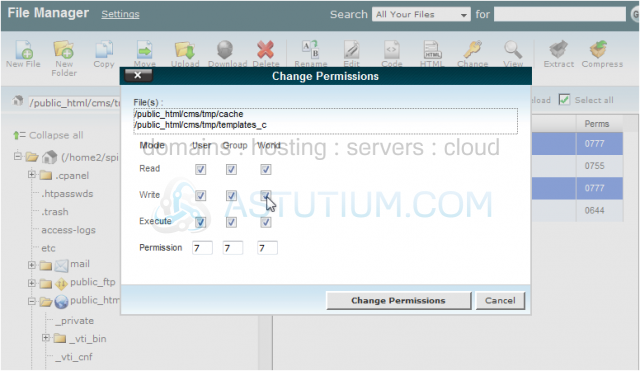
51) Once finished, click Change Permissions
52) Click, Up One Level to return to public_html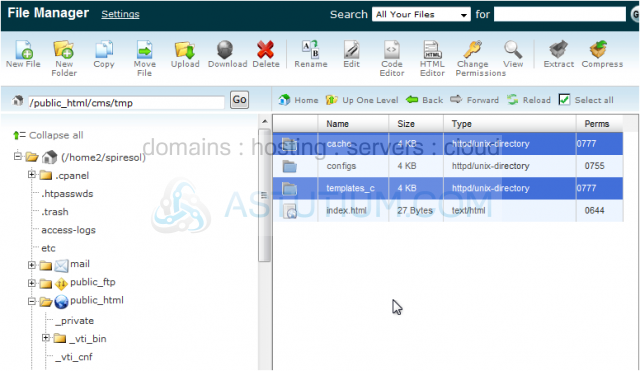
53) Double-click on uploads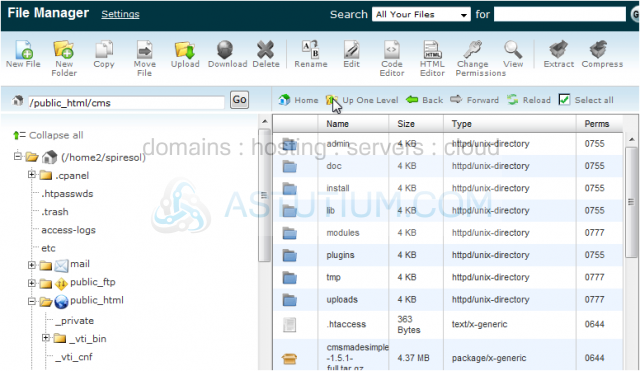
54) Click, images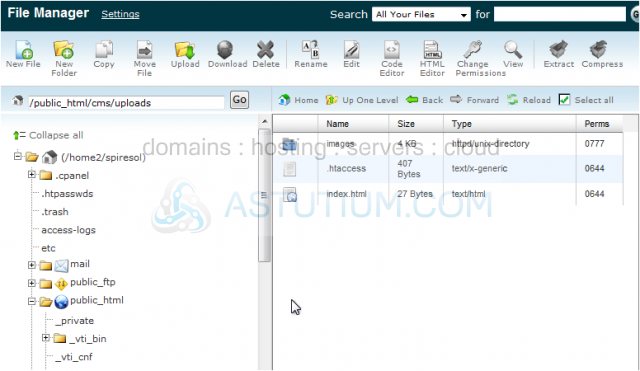
55) Click here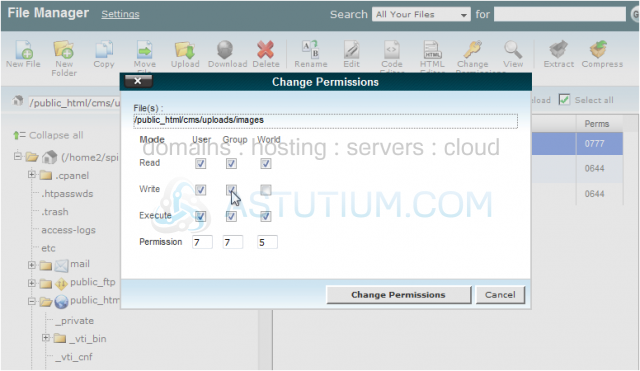
56) Click here
57) Once finished, click Change Permissions
58) We have finished preparing CMS Made Simple for installation. Go to http://www.yourdomain/index.php with your favorite internet browser to begin the installation
59) First, select the language preference
60) Once selected, click Submit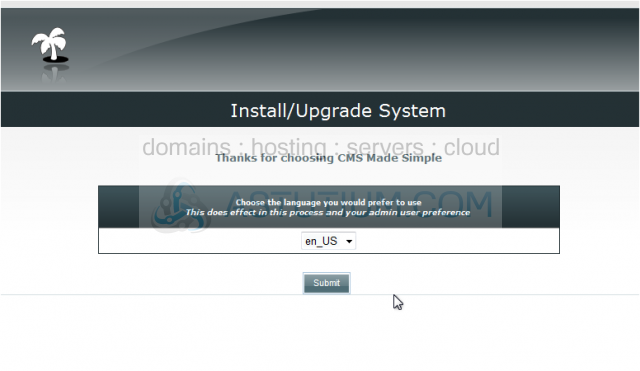
Scroll Down
61) Since this is a new installation, click Continue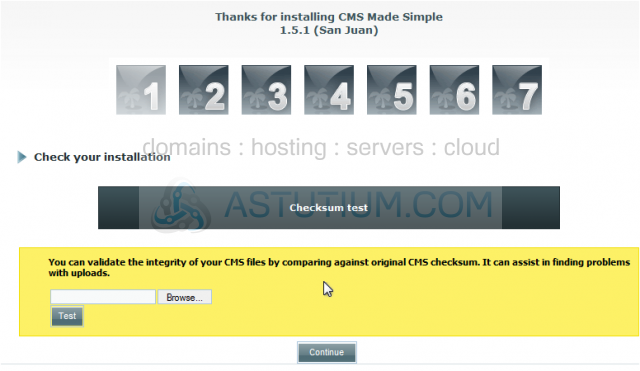
Scroll Down
62) CMS Made Simple is warning you that a config.php does not exist. Open the File Manager within cPanel to fix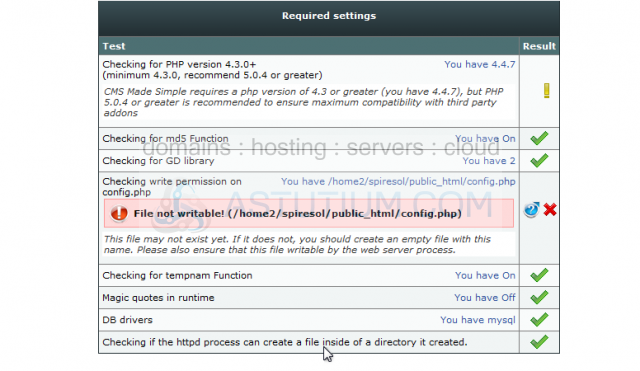
63) Click, New File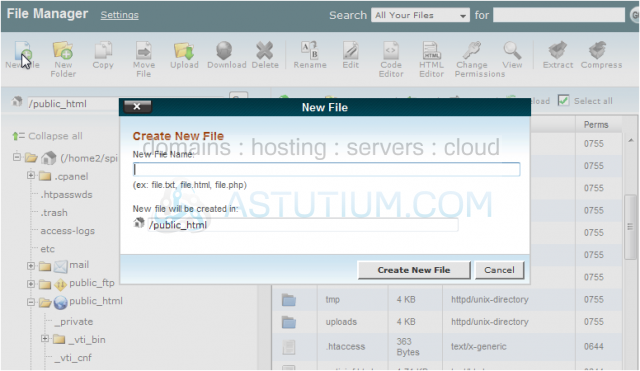
64) Name the file config.php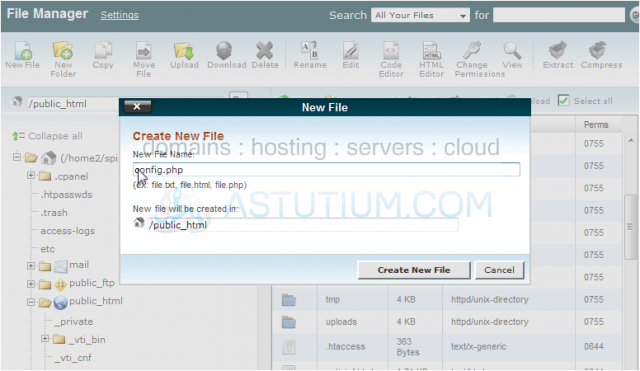
65) Once finished, click Create New File
You can see the file has been created below. Lets now set the correct permissions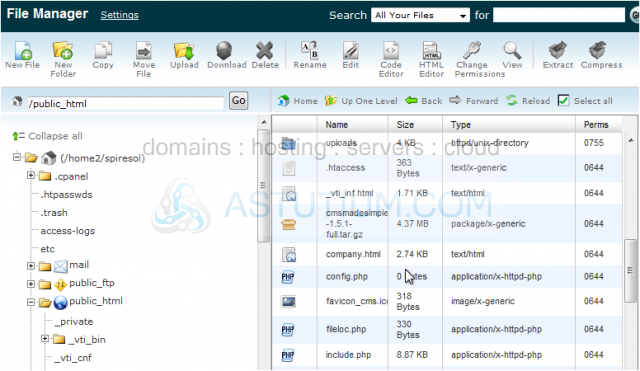
66) Click, config.php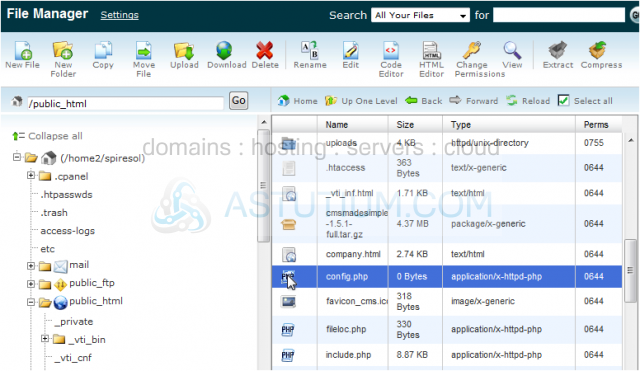
67) Click, Change Permissions
68) Click all boxes to 777
69) Once finished, click Change Permissions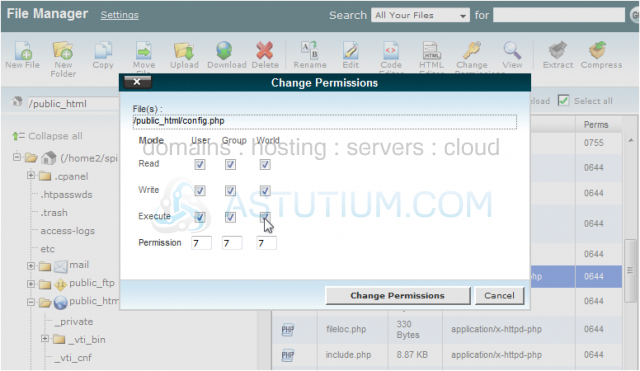
70) config.php has been created and proper permissions set. Browse to the CMS Made Simple installation again to continue
71) Click, Try Again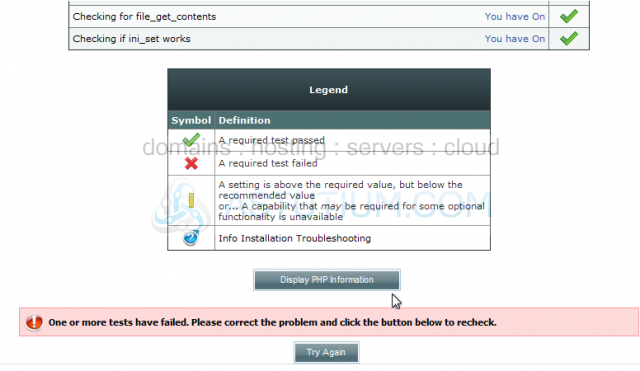
72) All tests passed, click Continue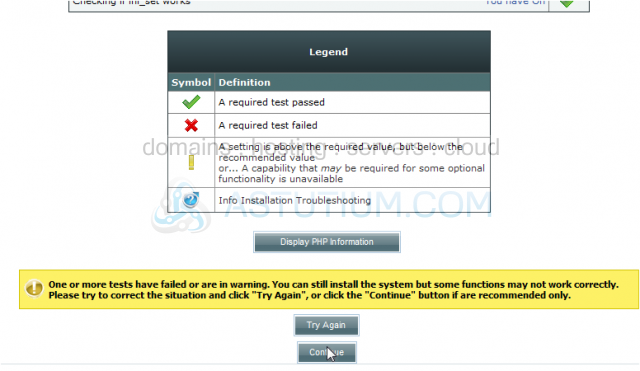
Scroll Down
73) Click test to check File Creation Mask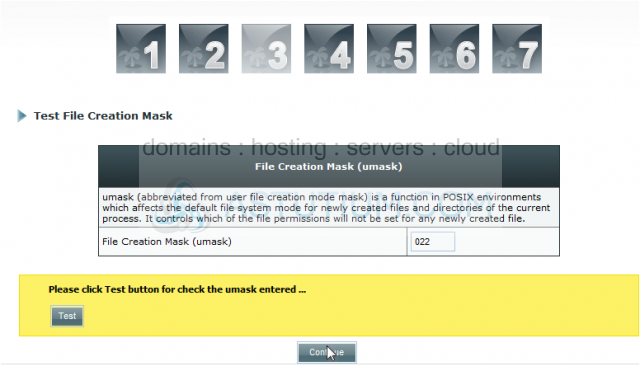
74) If passes, click Continue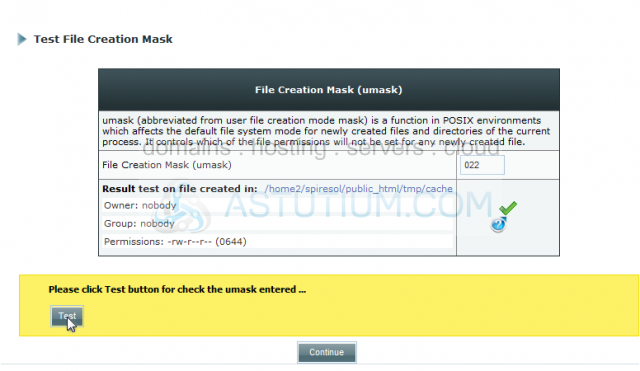
Scroll Down
Lets now create the Admin Account Information
75) Enter the admin Username here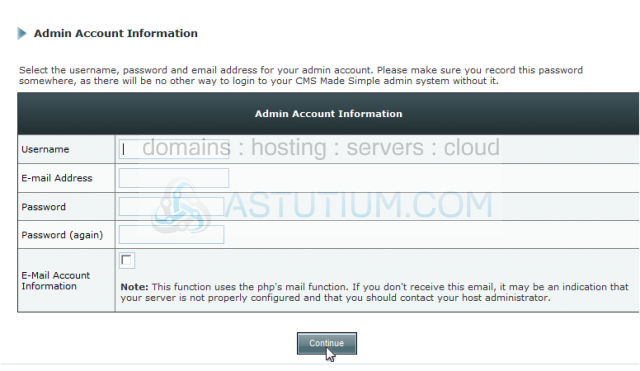
76) Paste the E-mail Address
77) Paste the password
78) Paste the password again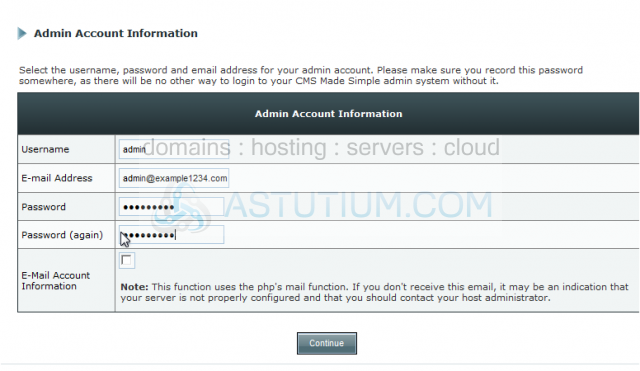
79) Once complete, click Continue
Scroll Down
The next step is to enter the database information
80) Paste the Mysql Database Name here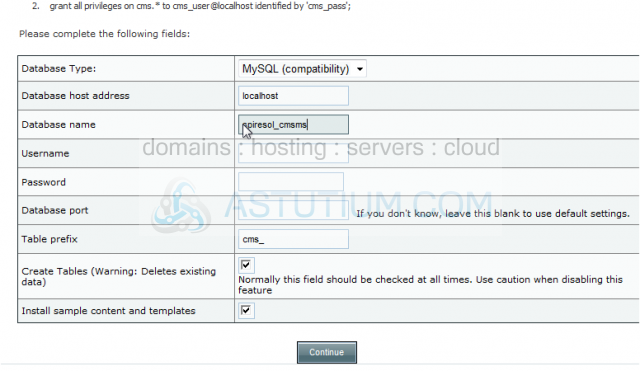
81) Paste the Mysql Database username here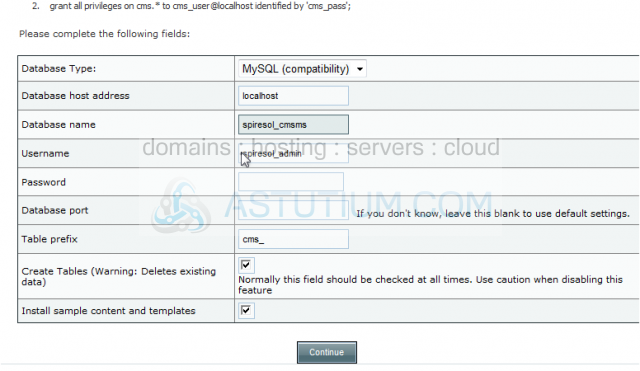
82) Paste the Mysql Database password here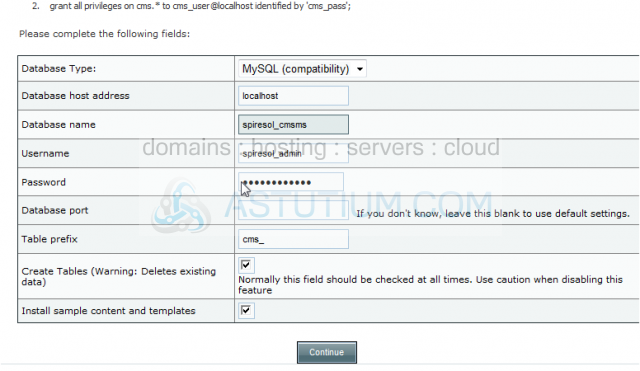
Since this is a new installation, you can leave all other fields default
83) Paste the Mysql Database password here
84) Click, Continue
Scroll Down
The database tables have successfully been created. In this tutorial we will leave the fields below default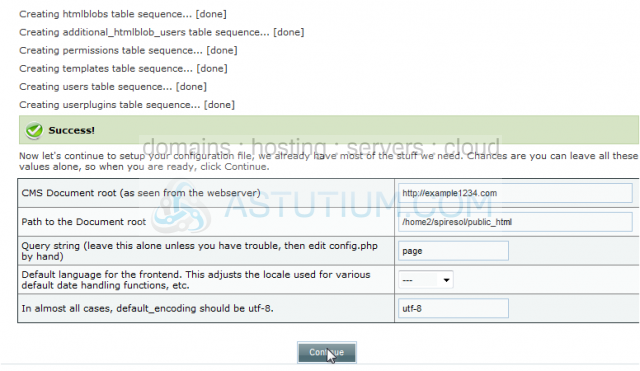
85) Click, Continue
Scroll Down
Congratulations! You have successfully installed CMS Made Simple. Lets now enter the Admin Panel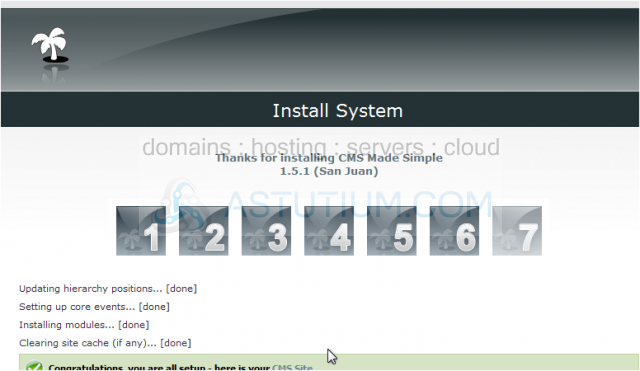
86) Click, go to the Admin Panel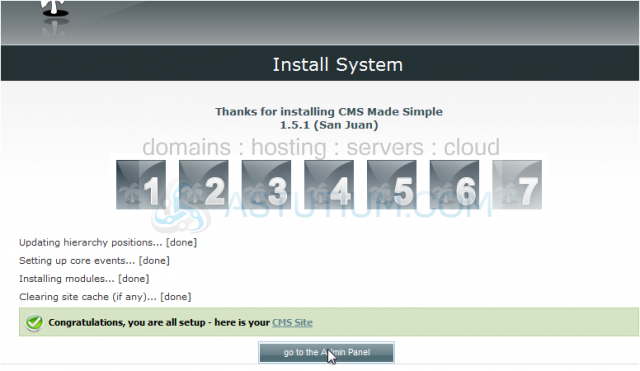
This is the Admin Panel. All seems to be working correctly. Lets check the front-end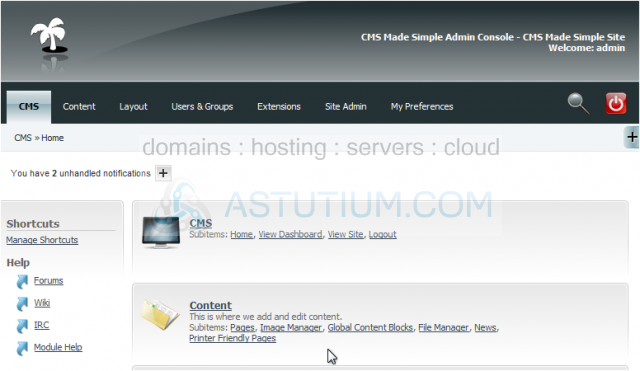
87) Click here to view the front-end
Congratulations! Everything has been installed and working correctly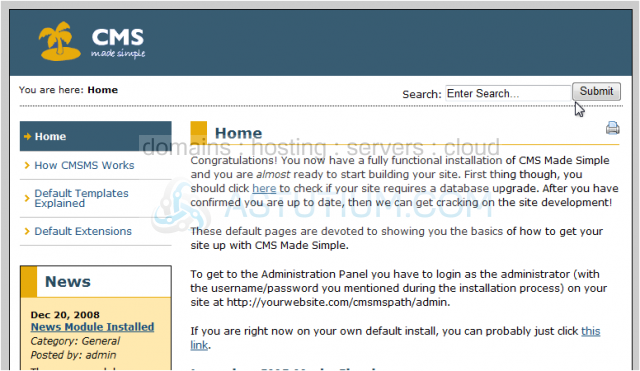
This is the end of the tutorial. You now know how to download and install CMS Made Simple using cPanel and Mysql