H-Sphere 3.x end-user series
5. How to set up Cron Jobs in H-Sphere
This tutorial assumes that you've already logged into your H-Sphere control panel
Let's learn how we can set up Cron Jobs from within H-Sphere control panel. This functionality is available for Unix accounts only
Cron Jobs are actually called 'cron daemons'. They are used for doing some tasks at specific intervals without your intervention every time. You set the clock and the cron daemon runs the work for you
Let's see how we can set up a cron job from H-Sphere
1) Scroll over FTP/User Account...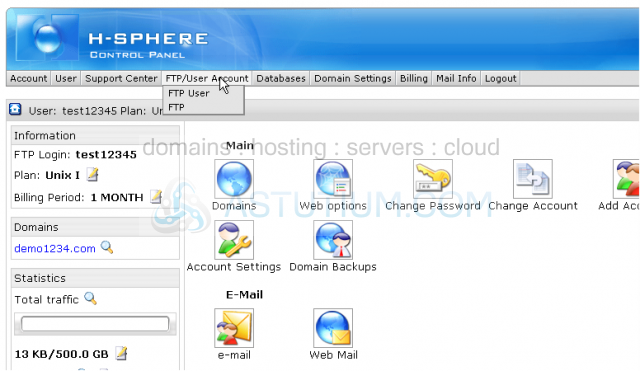
2) ...then click FTP User
Scroll down
3) To enable Crontab option click OFF button here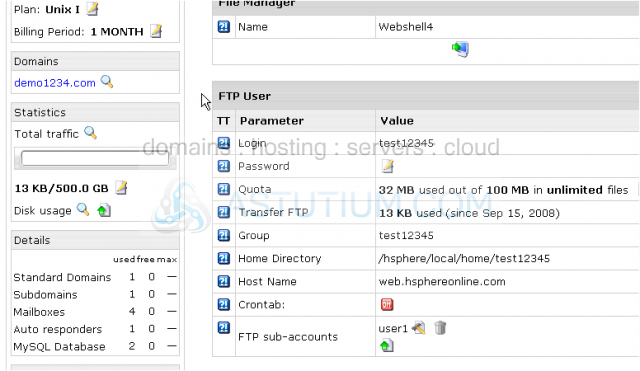
Scroll down
4) Now click the Edit button here to set up a new cron job for your account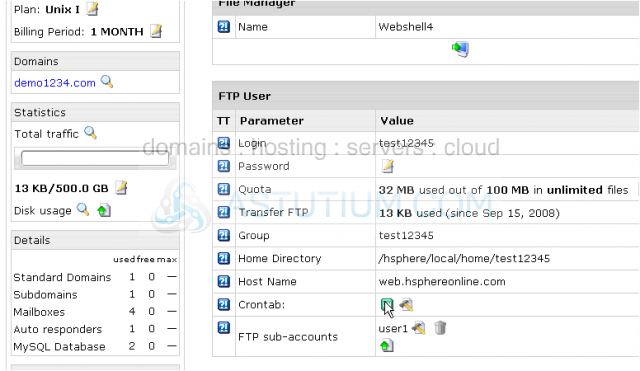
This Mail-To option specifies email address used for your cron job to report errors and malfunctions
Now let's set up a simple cron example...
Let's assume that we have installed a cgi script in our cgi-bin directory and want this program to be run every night at 11:30PM. This script will send out a newsletter to our members
5) Let's fill out these parameters in the following order: Minutes, Hours, Day of Month, Month, Day of the week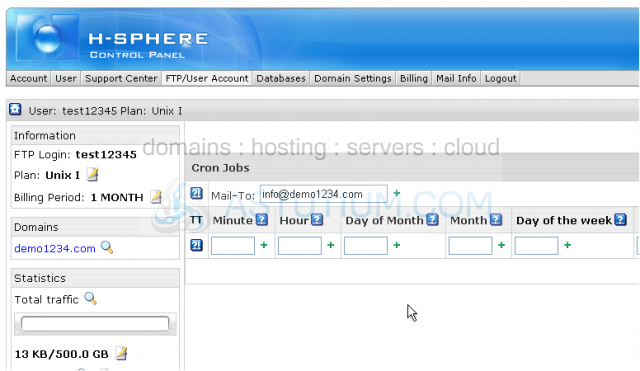
6) Now enter the actual cron command, its syntax may differ depending on the server's setup
7) When finished click Submit Query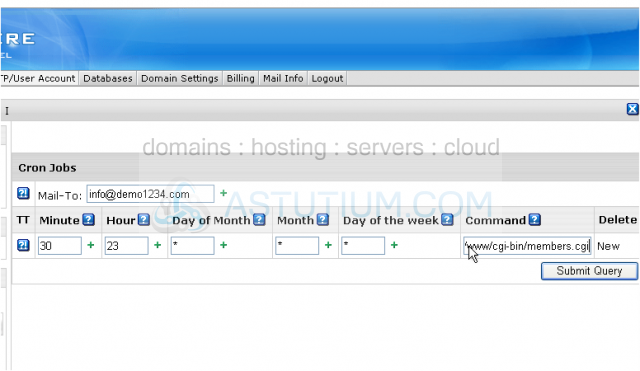
That's it! The cron job has been successfully set up...let's go take a look
Scroll down
Here you may add a new cron or delete the existing one. It is recommended to always remove the cron jobs that are not used in order to prevent the server from running the unnessary processes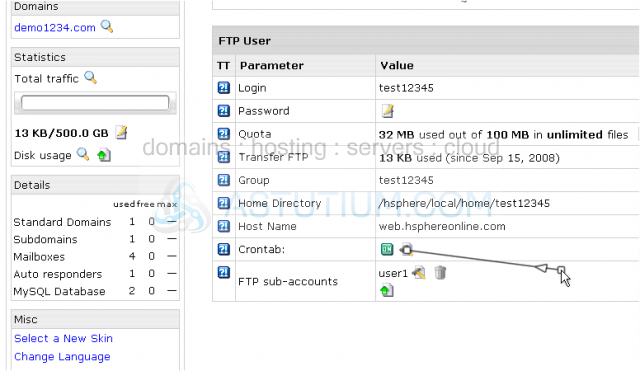
8) To delete this cron click here
9) Then click Submit Query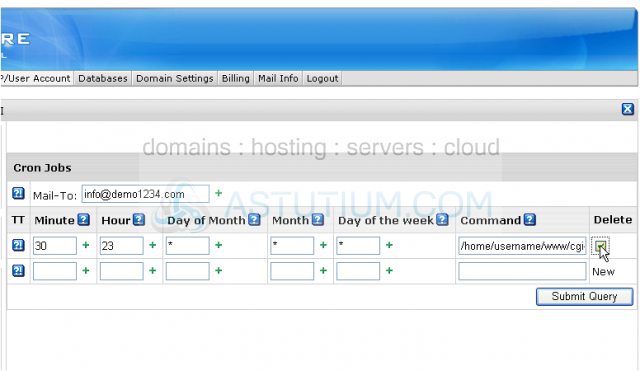
The cron job has been deleted while Crontab option is still enabled and you may add new crons here
This is the end of the tutorial. You now know how to set up a scheduled cron task from your H-Sphere control panel. You should always remember to remove the unnecessary crons so that there is no additional load on the server