H-Sphere 3.x end-user series
26. How to password protect a directory using WebShell
This tutorial assumes that you've already logged into your H-Sphere control panel
Now let's learn how to password protect a directory using WebShell. Note that you can password protect a directory only but not a single file
1) Scroll over FTP/User Account...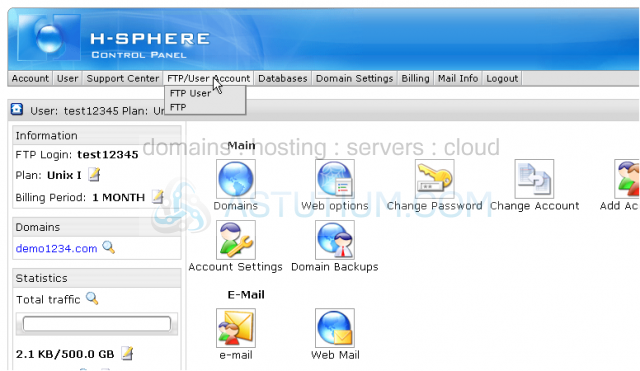
2) ...then click FTP User
3) Click the File Manager icon here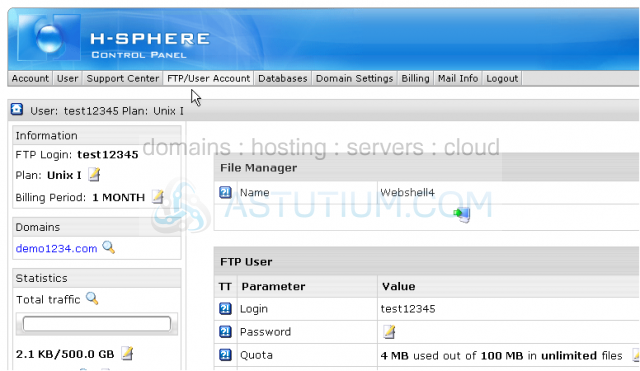
This is WebShell, the File Manager application in H-Sphere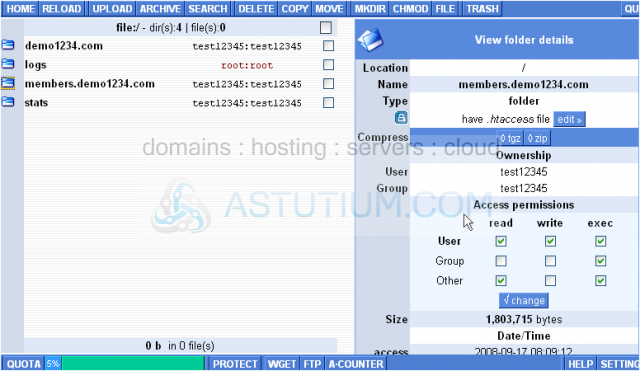
It is from here that you can password protect your directories and as a result require visitors to enter a username and a password before being able to view the content of certain pages in their browser
4) Click the Protect button here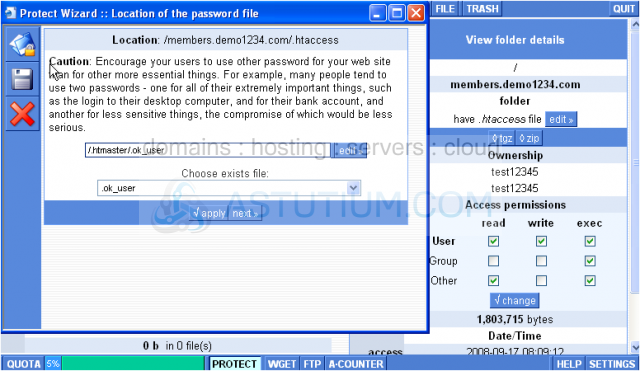
5) Click the small folder icon beside the folder's name you wish to password protect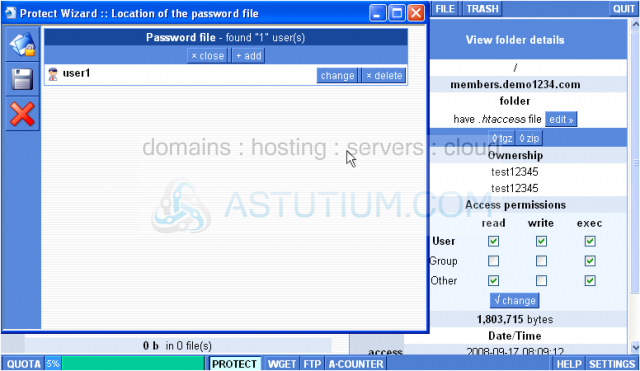
6) Click Edit
7) Here you can add a new user and set a password for it...click Add button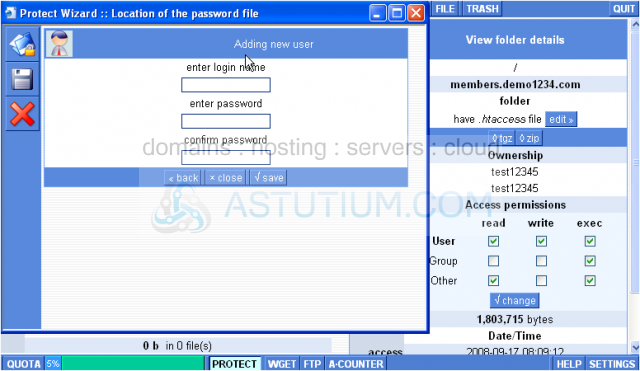
8) Enter a login or username and a password for the user you wish to grant access to
9) When finished click the Save button
As you may see, here you can add new users, delete the existing ones or update their passwords
10) Click this Save icon when finished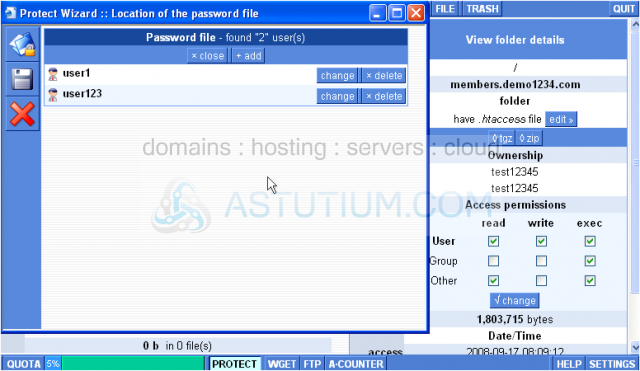
11) Then click Save here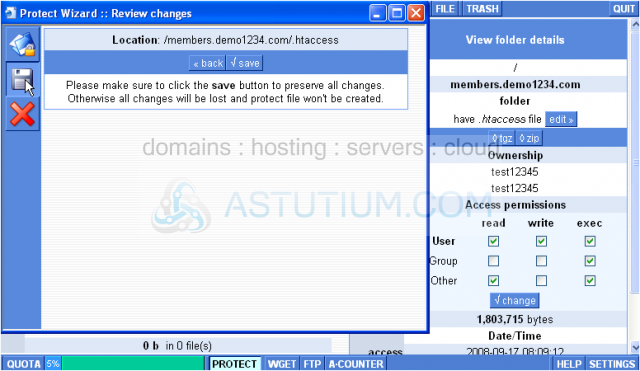
12) To leave the protection wizard click here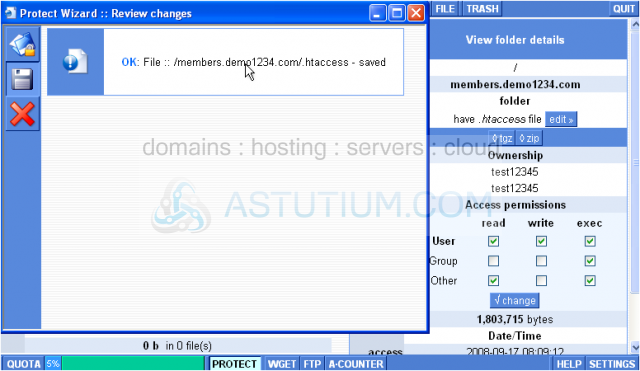
Now let's log out of WebShell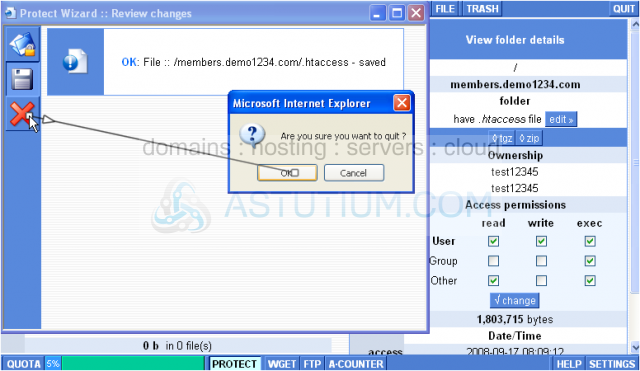
This is the end of the tutorial. You now know how to password protect directories in WebShell, how to create users and set up passwords for them. You can also update the existing users' passwords from within WebShell application