H-Sphere 3.x end-user series
31. How to use WebShell in H-Sphere
This tutorial assumes that you've already logged into your H-Sphere control panel
Now let's learn how to use Webshell, the File Manager application in H-Sphere
1) Scroll over FTP/User Account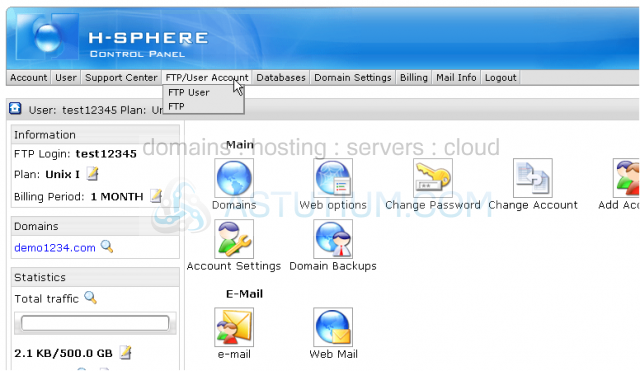
2) Then click FTP User
3) Click the File Manager icon here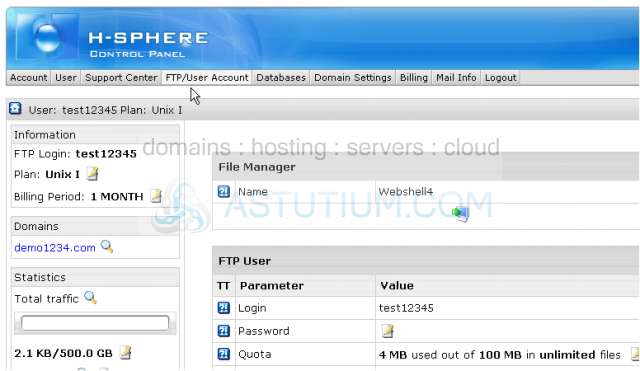
This is WebShell, the File Manager application in H-Sphere
4) You can click the small folder's icon here and see the properties of this folder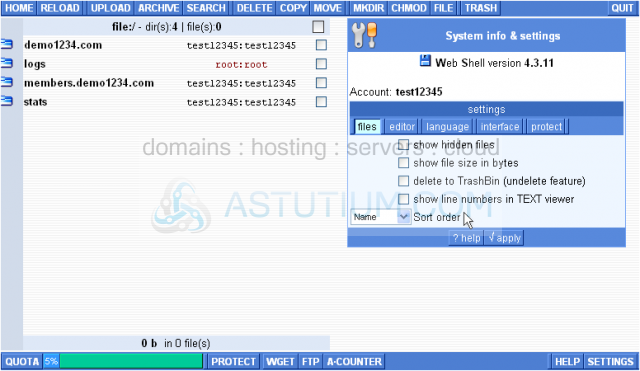
Complete folder details are shown here to the right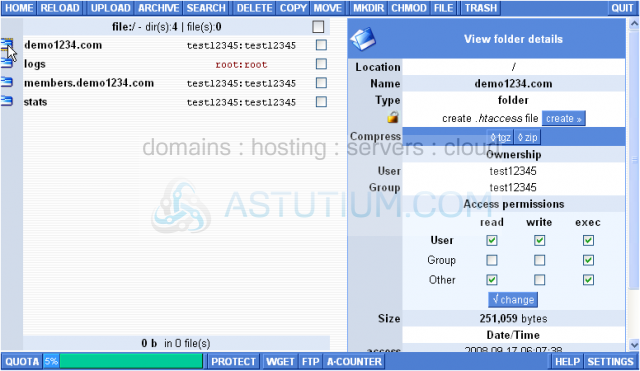
Clicking the folder's name will show all files and folders inside this domain name directory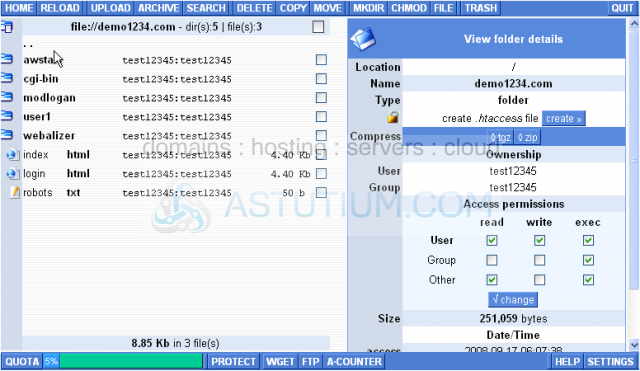
5) Let's see how we can upload a file to this folder...click Upload
6) Locate the file you wish to upload...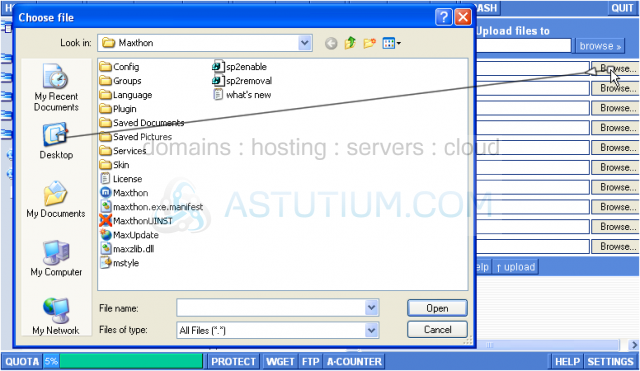
7) Then click the Upload button here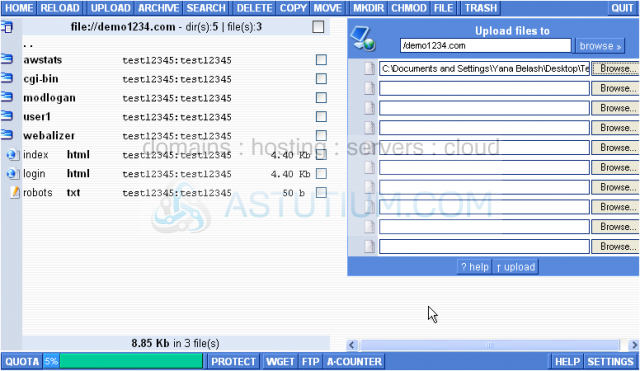
There it is!
8) To delete (remove) the file select it here...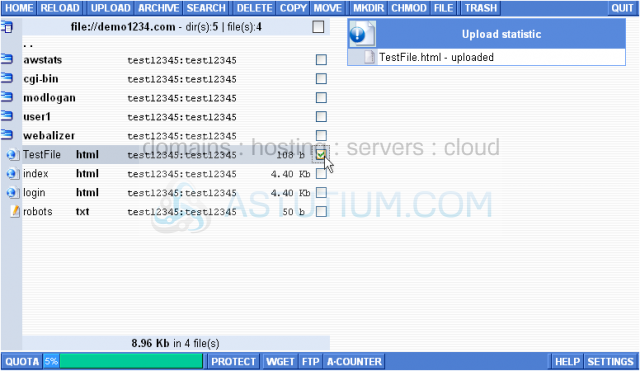
9) ...then click the Delete option here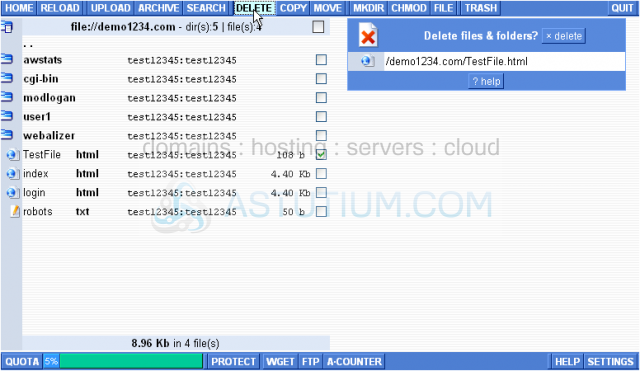
10) Confirm the deletion by clicking here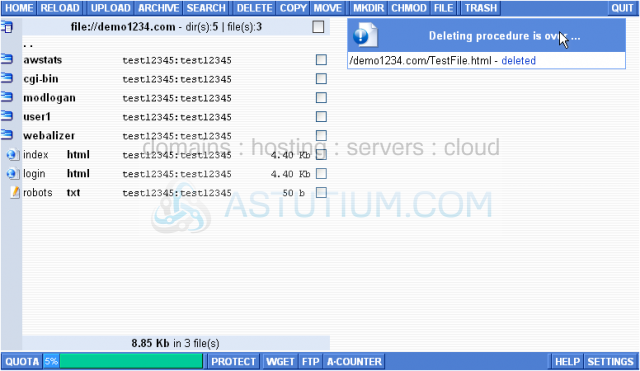
Now let's create a new directory...
11) Click the MKDIR (Make Directory) button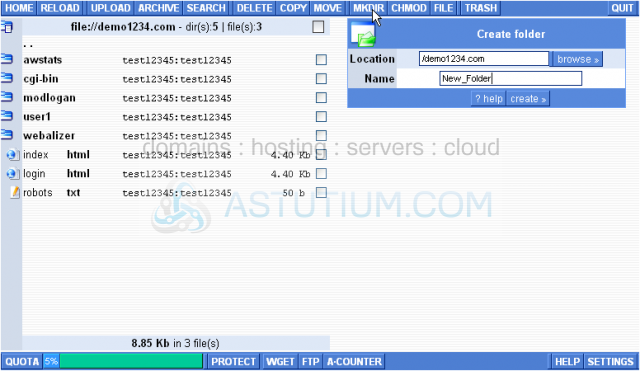
12) Type in a name for the new directory here, then click Create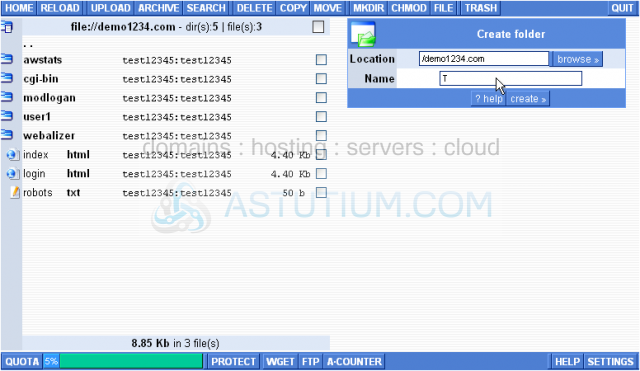
The folder has been created...let's go and see
13) Clicking here will lead you to the upper directory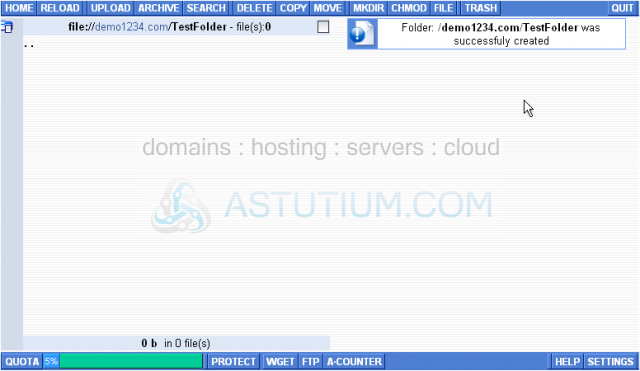
14) Now let's delete the folder (or directory) we've just created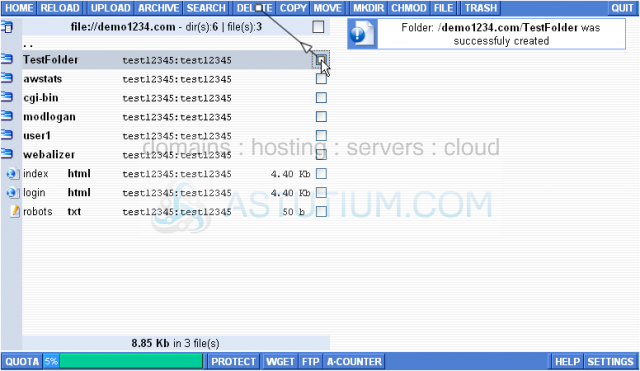
The TestFolder has been deleted
To view the properties of a given file simply click on its name. The file information will appear on the right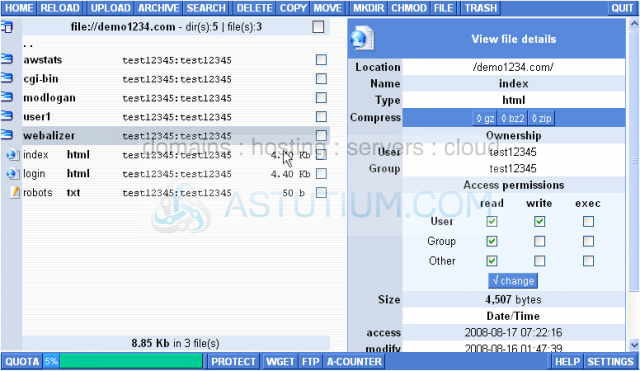
Let's log out of WebShell and go back to H-Sphere home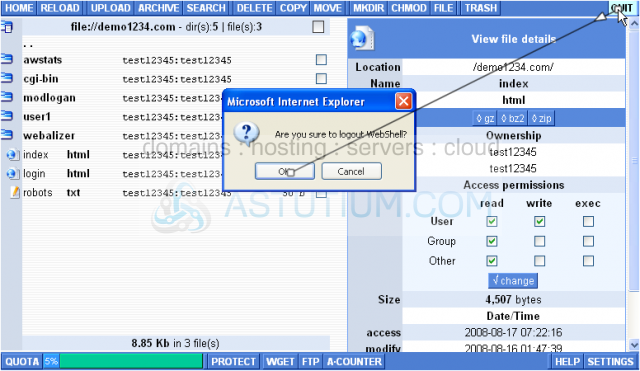
This is the end of the tutorial. You now know how to use the basic operations in your WebShell file manager, upload, delete files, check the file's/folder's properties and may go on using the other WebShell options