DotNetPanel end-user series
10. How to create Web Sites in DotNetPanel
This tutorial assumes you are already logged in to DotNetPanel
Now let's learn how to create a Web Site
1) Click on the plan you want to add a web site to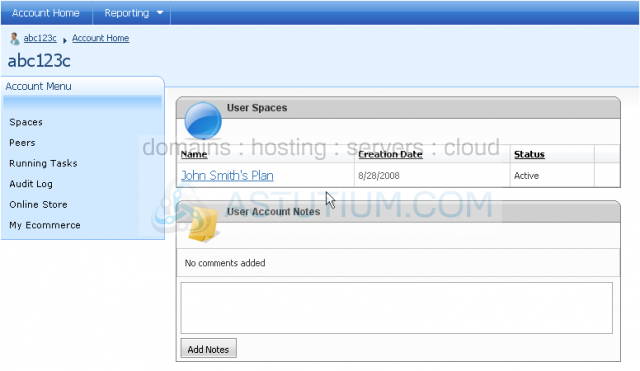
2) Click Web Sites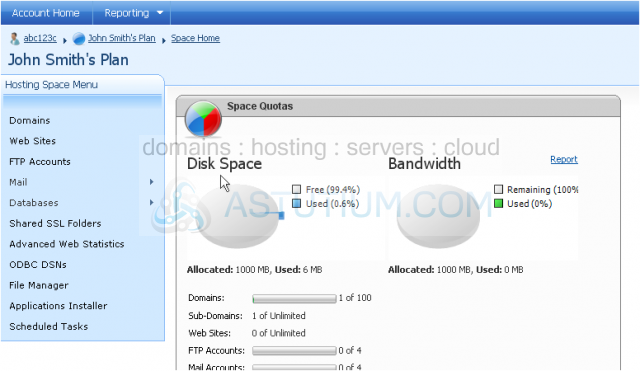
3) Click Create Web Site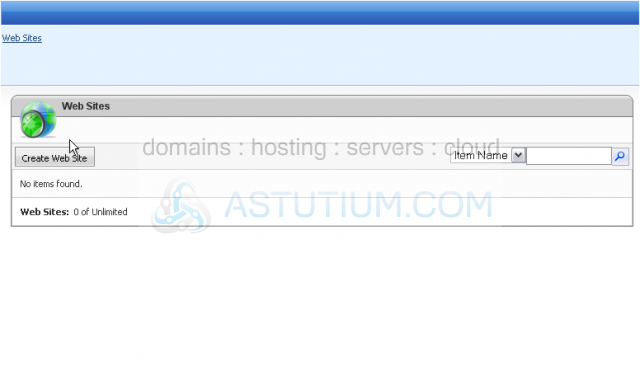
4) Select the domain you want to add the web site to
5) Click Create Web Site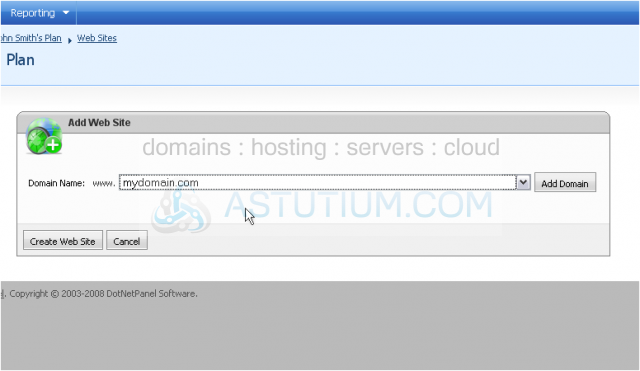
This page allows you to set the options for your new website
6) You can pause or stop the Web Site by clicking these buttons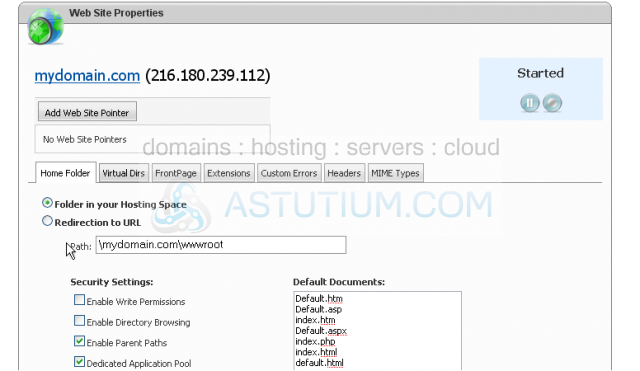
7) You can restart it by clicking the start button
Scroll down
8) You can set the security settings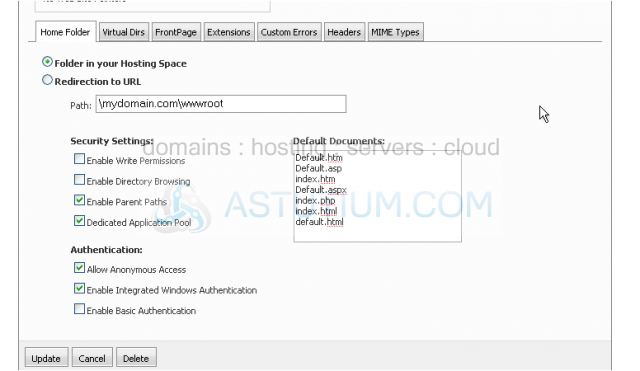
9) You can edit the virtual directories here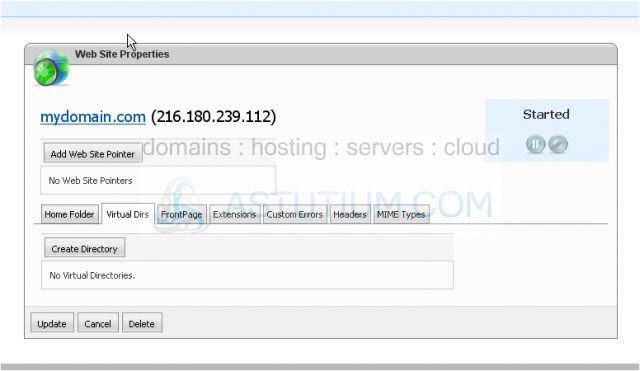
10) ...enable Frontpage extensions here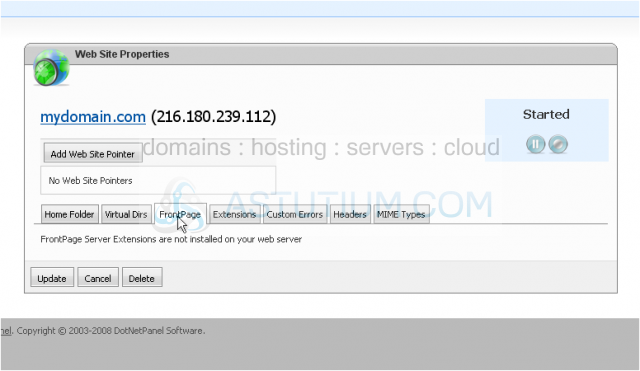
11) ...select which extensions are installed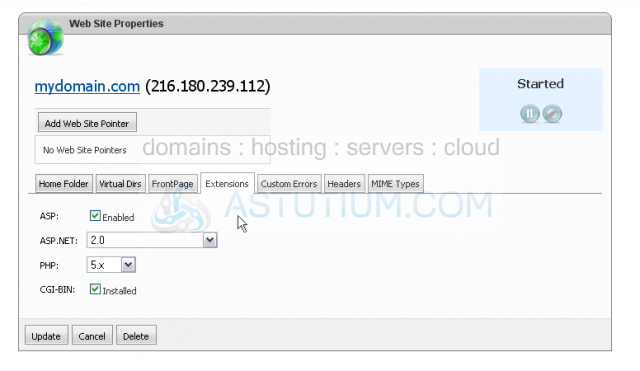
12) ...set up custom errors
13) ...set up custom headers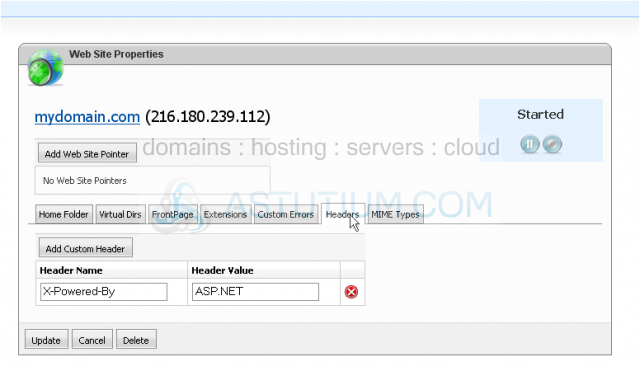
14) ...or add MIME types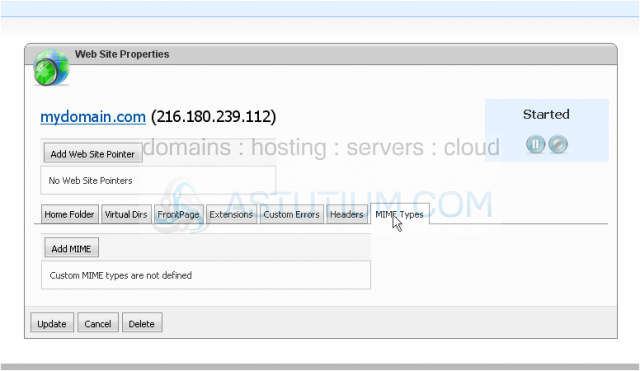
15) When you are finished, click Update
Success! Your web site now shows up in the list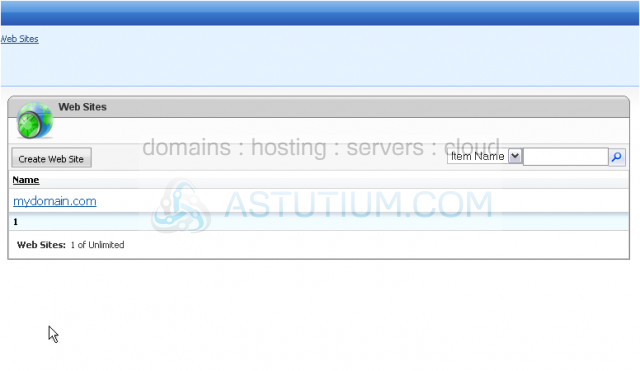
This is the end of the tutorial. You now know how to create a web site in DotNetPanel