DotNetPanel end-user series
14. How to use File Manager in DotNetPanel
This tutorial assumes you are already logged in to DotNetPanel
Now let's learn how to use the file manager
1) Click on the plan for which you would like to access the file manager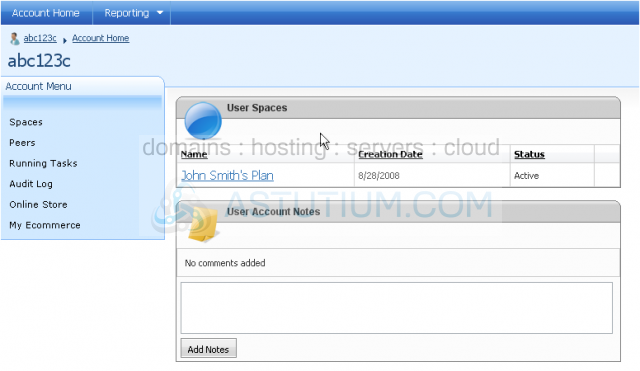
2) Click File Manager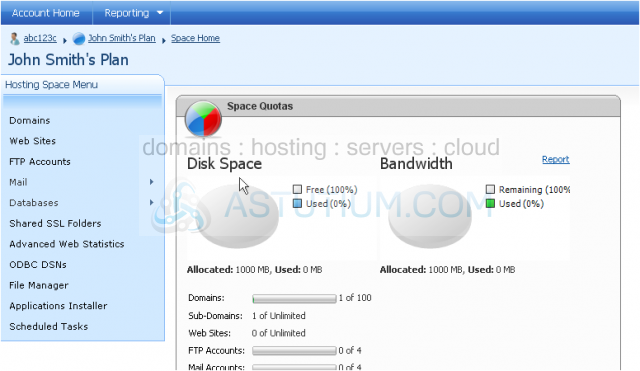
This interface allows you to manage all of your files you have uploaded
3) You can upload files by clicking this button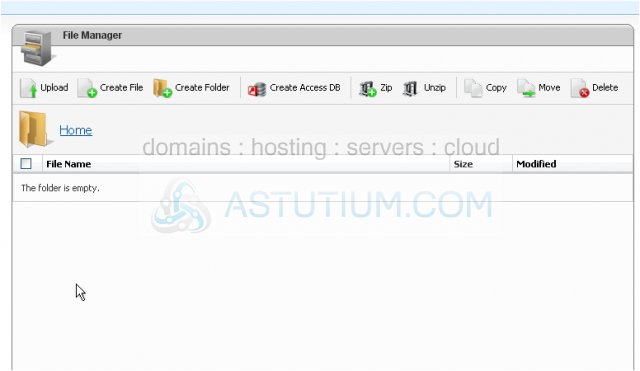
4) Click Browse to find the file you want to upload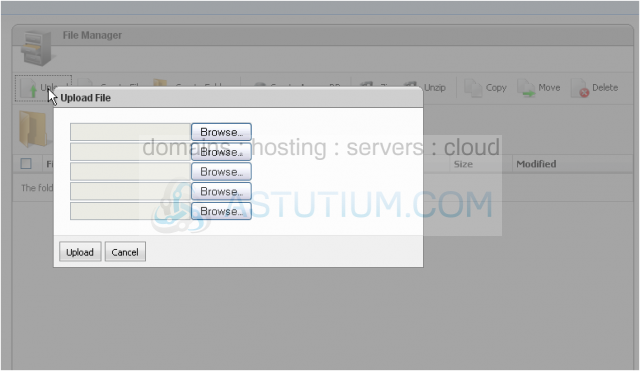
5) Click the file you want to upload then click Open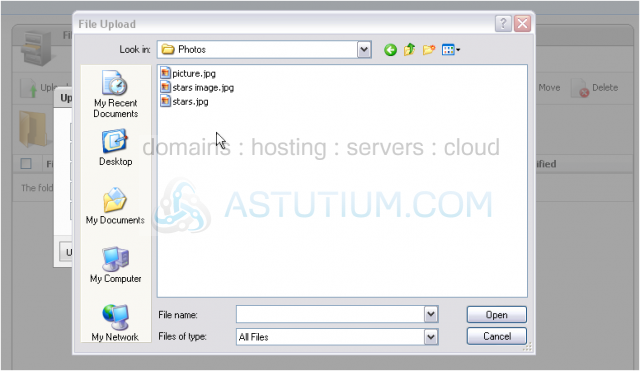
6) Click Upload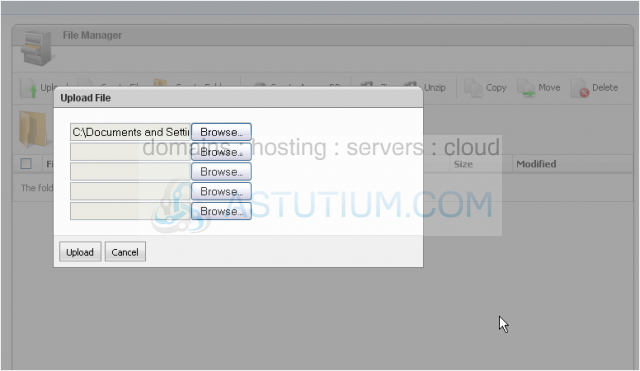
Your file now shows up in the list and you can see the file name, size and date it was last modified
7) You can also create files
8) Enter a name for your file including the file extension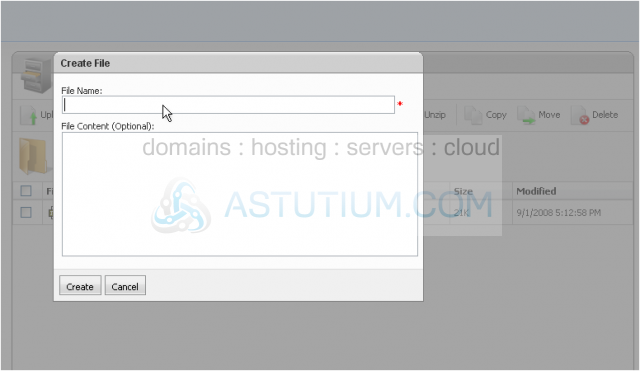
9) You can also enter optional content for your file
10) Click Create when you are ready
The new file now shows up in the list as well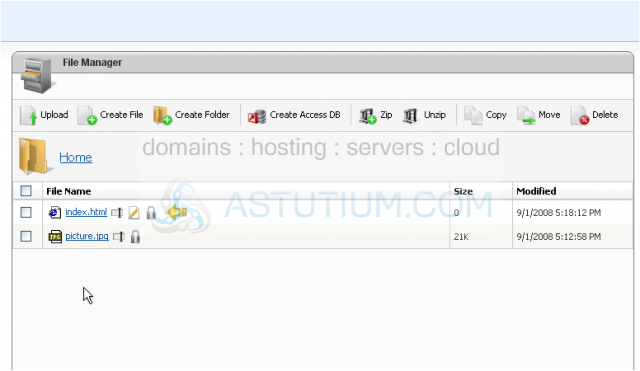
You can also create a new folder to organize your files
11) Enter a name for your folder and click Create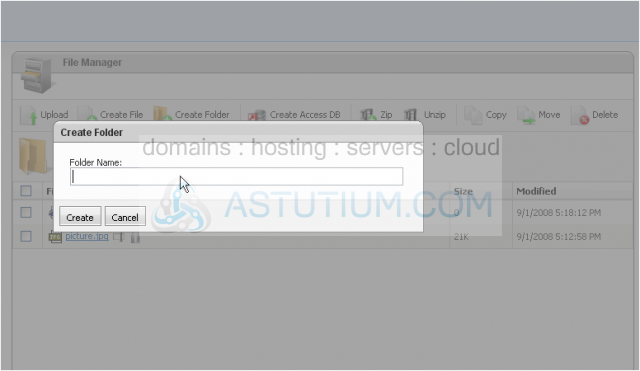
You can edit the name of the folder you just added
12) Enter a new name for your folder and click Rename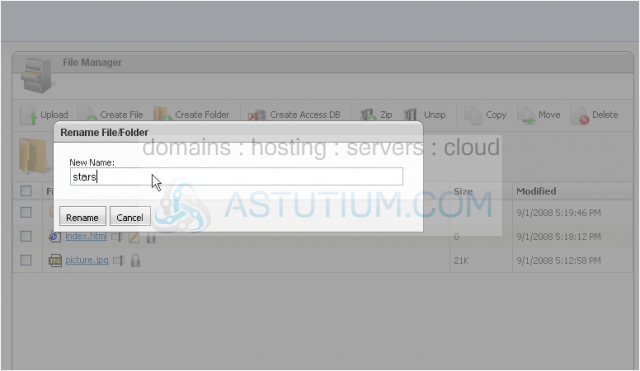
The folder has been renamed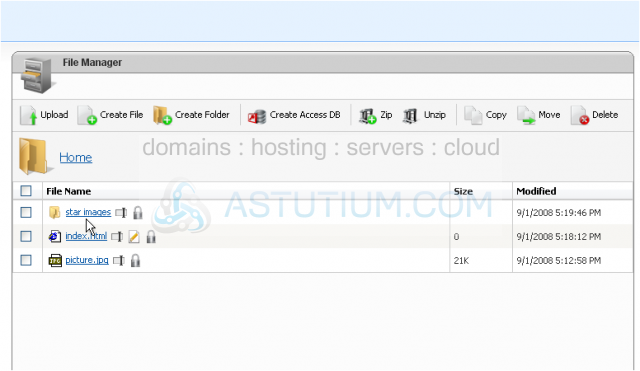
The file manager also allows you to create a Microsoft Access database
13) Enter a name for your database and click Create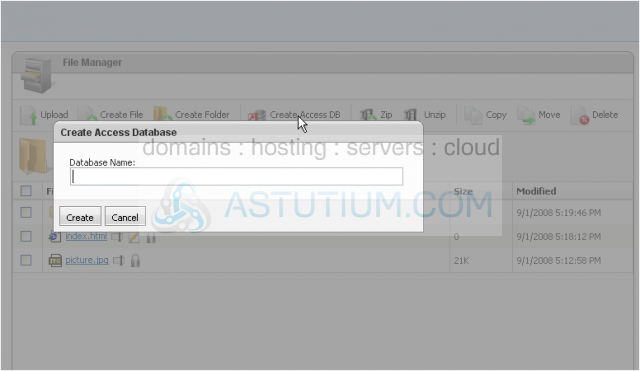
Success! Our database now shows up in the file list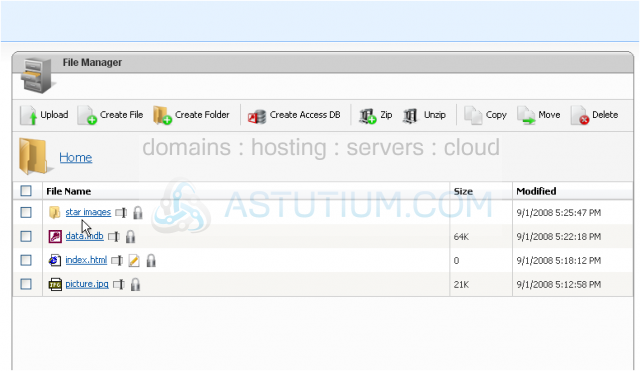
File manager allows you to zip a folder for easy storage or downloading
14) Select the folder you want to zip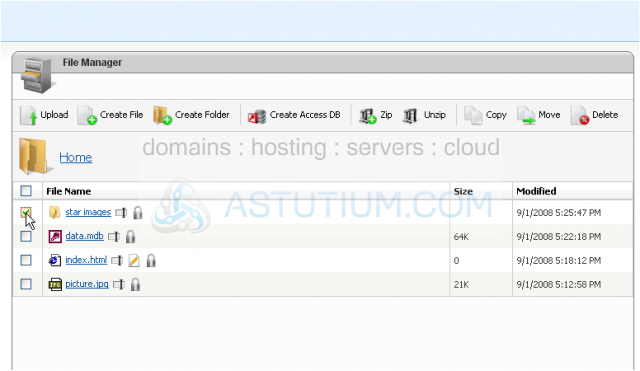
15) Now click Zip
16) Enter a name for your archive and click Zip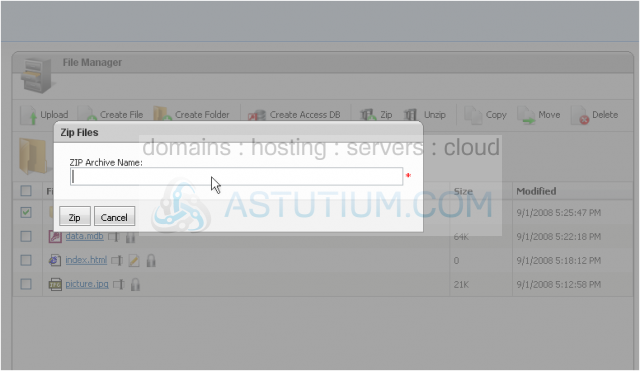
17) Success! You can download your new zip file by clicking on the file name
18) You can also Unzip your file by selecting it...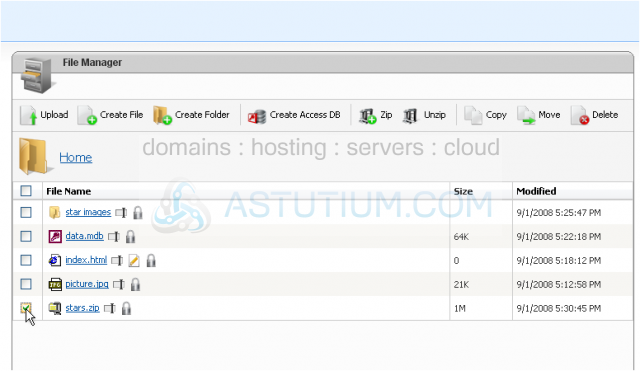
19) ...and clicking Unzip
The files in the archive have now been added to the file list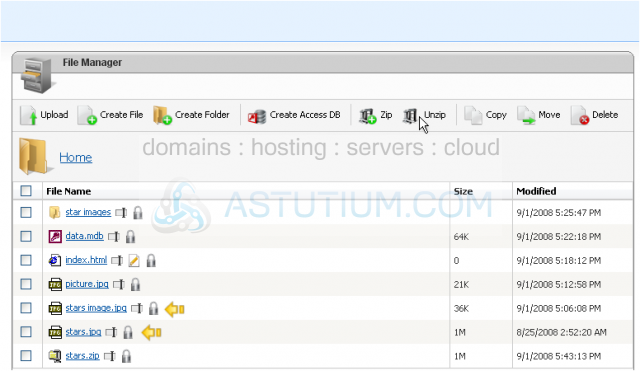
20) To copy a file, first select it...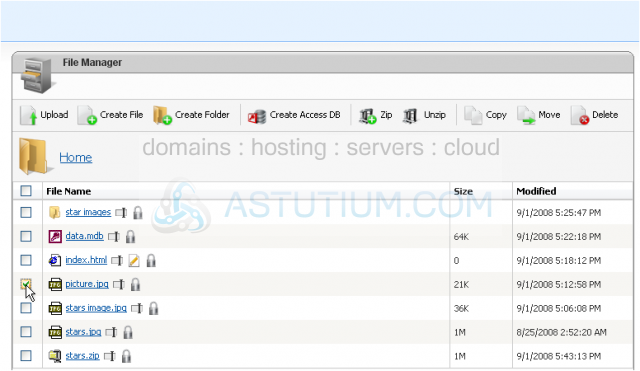
21) ...then choose Copy
22) To choose a destination folder, click in the text box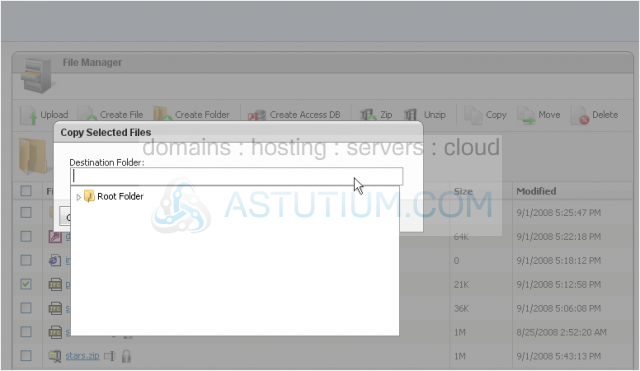
23) You can now browse for the folder you want to copy the file to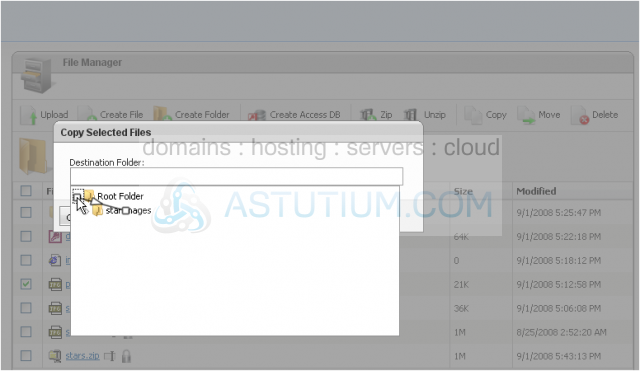
24) Click Copy
25) You can view the copied file by clicking on the folder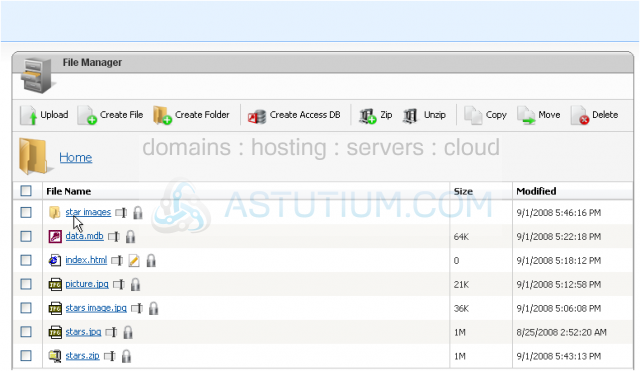
We can see that it appears in the list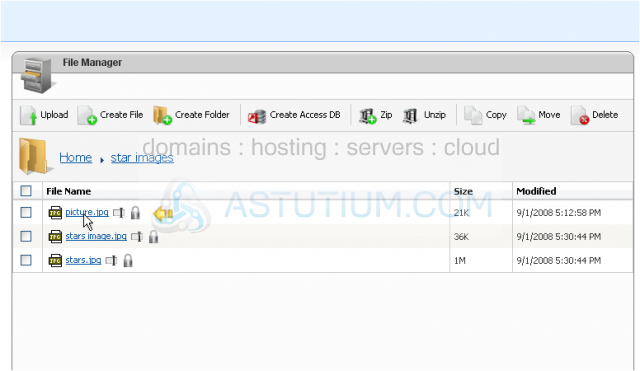
26) If you decide you don't want the file here after all, you can select it...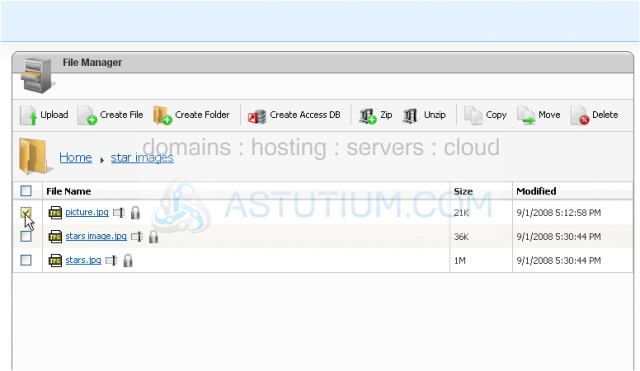
27) ...and click Delete
28) Click Delete to confirm file deletion
29) Click Home to go to the top directory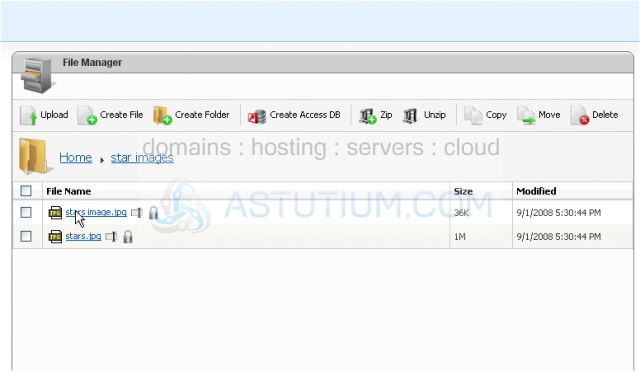
30) You can move the file instead by selecting it...
31) ...and clicking Move
32) You will need to browse for the destination folder as before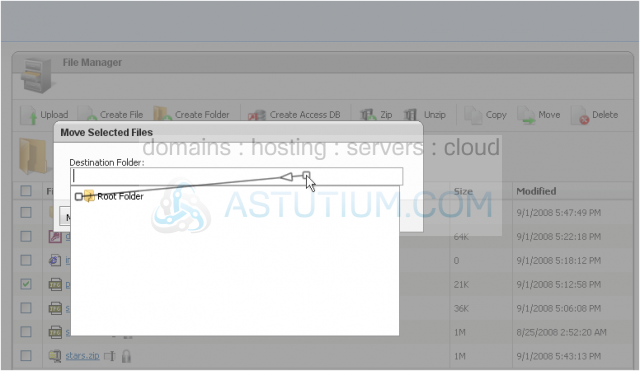
33) Click Move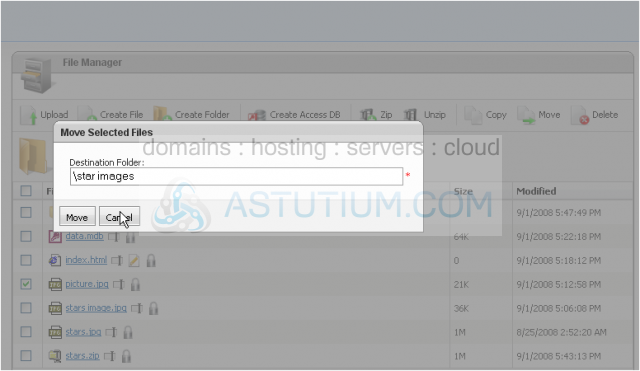
You can go to the folder to view the moved file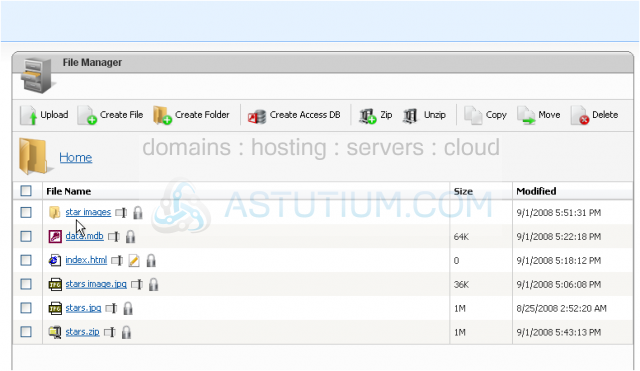
The file can now be seen in the file list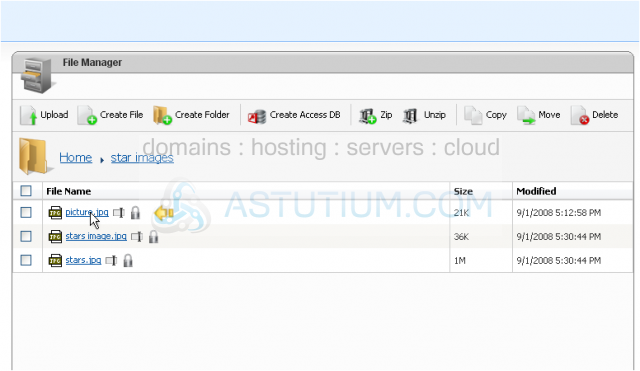
34) Click Home to return to the top directory
35) You can edit the permissions of any file or folder by clicking this icon
36) You can allow read and write permissions for the file or folder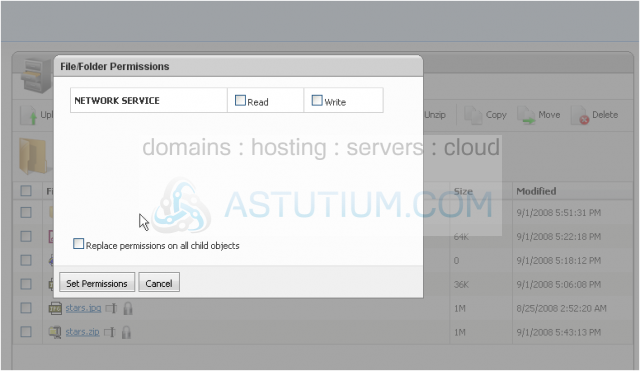
37) Selecting this box automatically changes all the items in the folder to these settings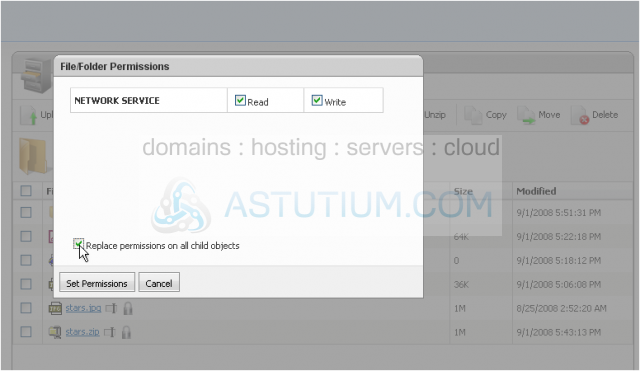
38) Click Set Permissions
You can also edit any file with this icon next to it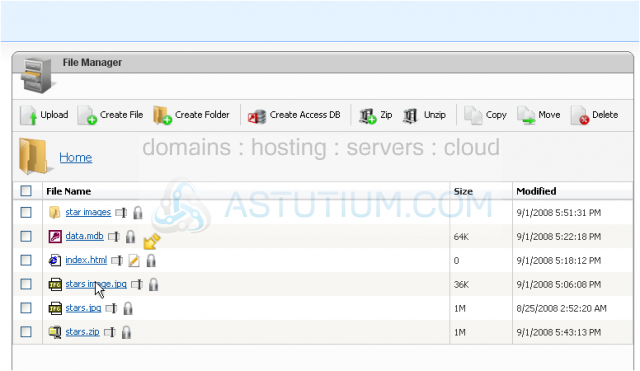
Scroll down to see your disk space
39) You will need to calculate diskspace if you've made any recent changes which haven't been updated yet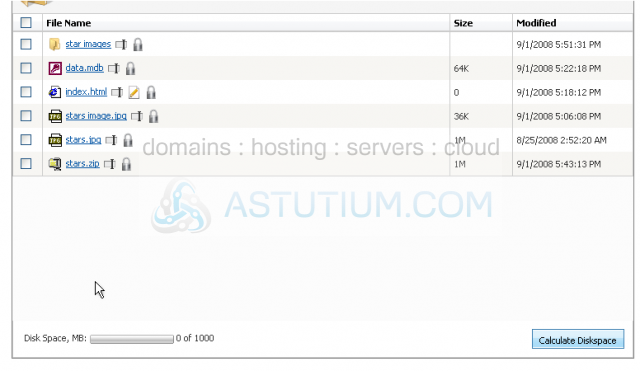
40) Click OK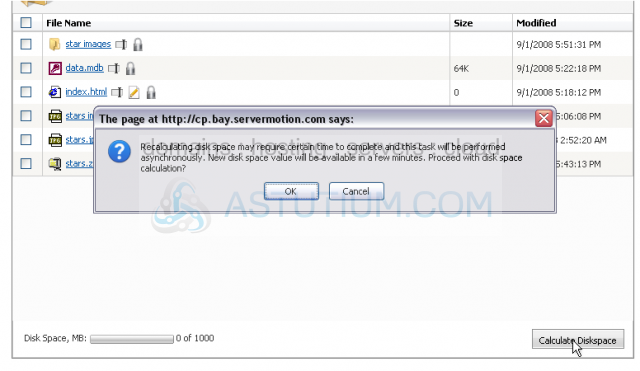
Your disk space now shows up. Note that it may take some time to appear depending on the number of files you have uploaded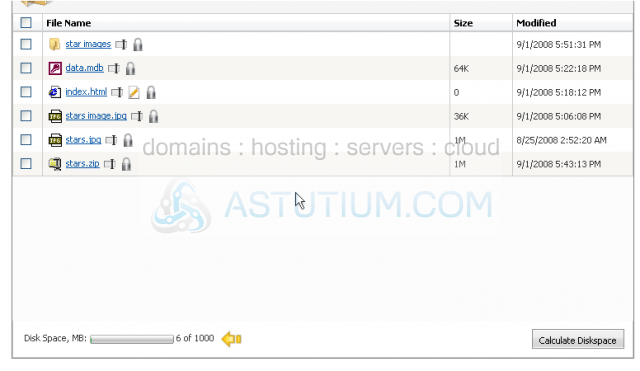
This is the end of the tutorial. You now know how to use the file manager in DotNetPanel