Plesk 8 (Linux) end-user series
6. How to create an autoresponder
This demo assumes you've already logged in to Plesk
Now let's learn how to create an autoresponder
1) Click the Mail icon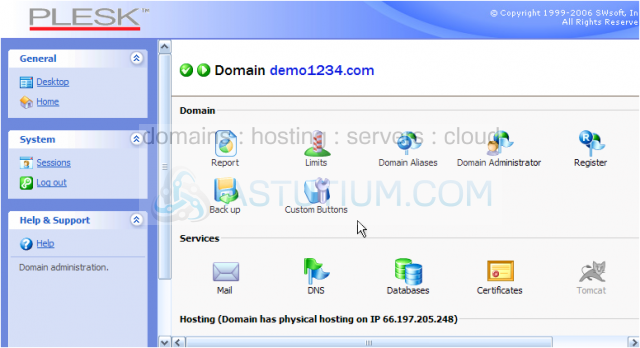
Scroll down
2) Let's turn request@demo1234.com into an autoresponder
3) Now select the email address you want to use as an autoresponder (note: it must already be setup; if it isn't, follow the instructions to setting up a new email account)
4) Click the Autoresponders link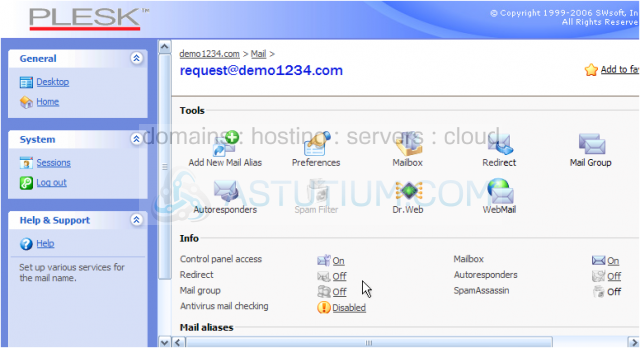
5) Click Add New Autoresponder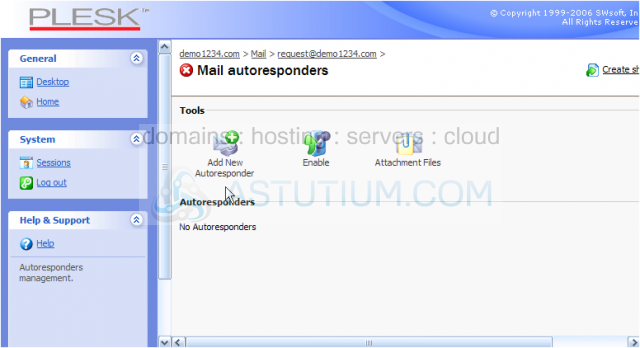
6) Enter a name for the new autoresponder (for reference only)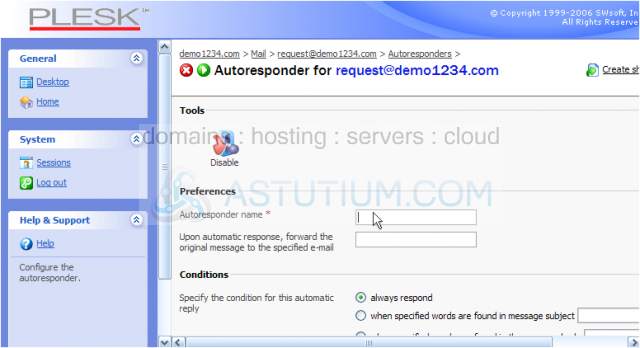
7) Enter an email address where you want a copy of the original email sent (optional)
Scroll down
8) If desired, enter a new Reply Subject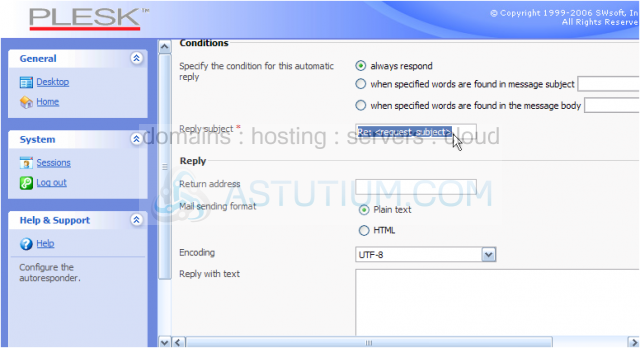
9) Enter an address where replies from the visitor will be directed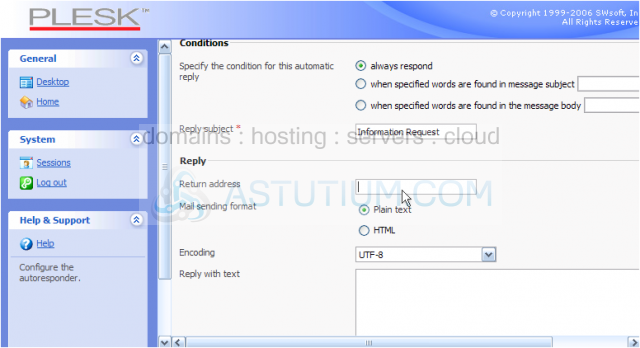
Scroll down
10) Enter your autoresponder message here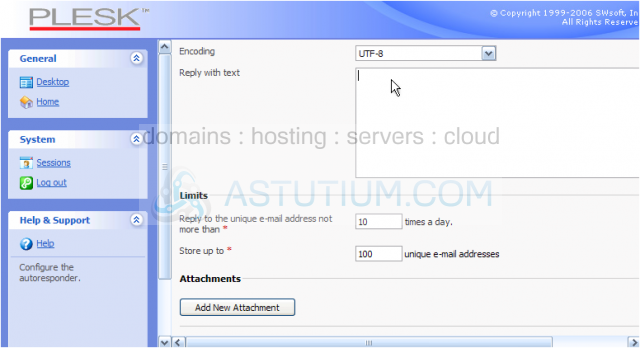
Let's add an attachment to our autoresponder message
11) Click the Browse... button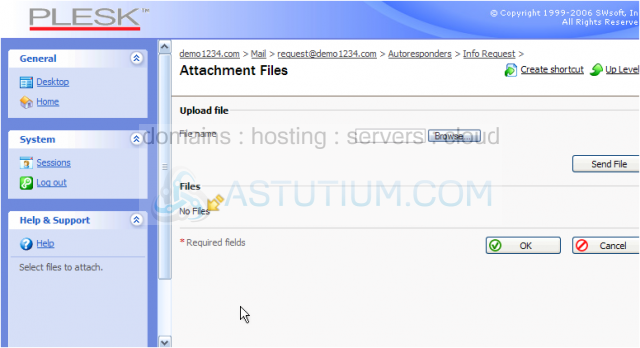
Since there are no files listed here to attach to our message, we'll have to add one first.....
12) Select postinfo.html, the file we wish to attach to the autoresponder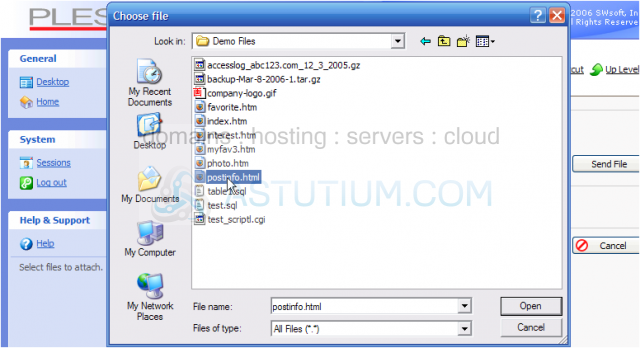
13) Then click Open
14) Now click Send File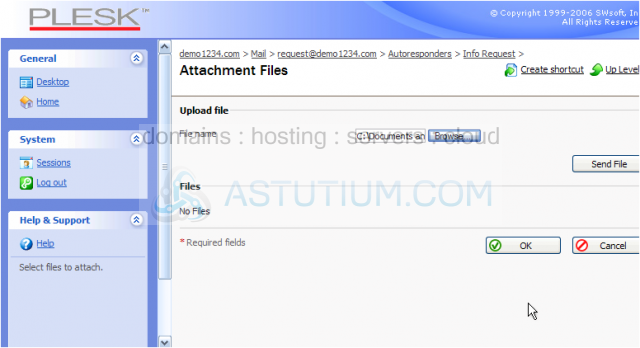
Scroll down
The postinfo.html file is now available as an attachment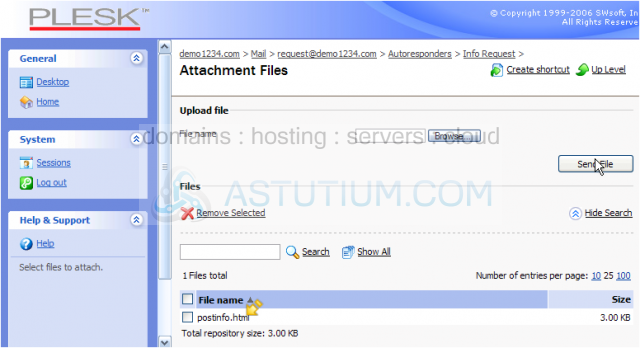
Now let's attach the file to our autoresponder
15) Click OK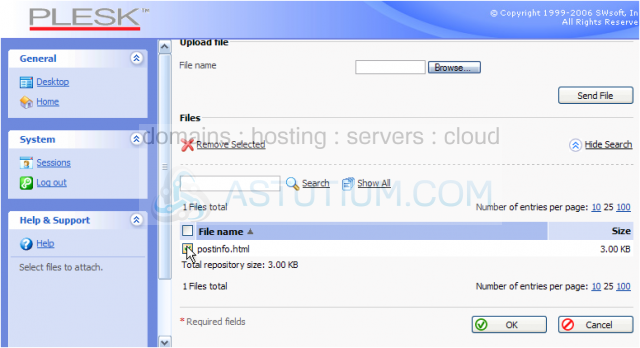
Scroll down
16) Click OK to save the autoresponder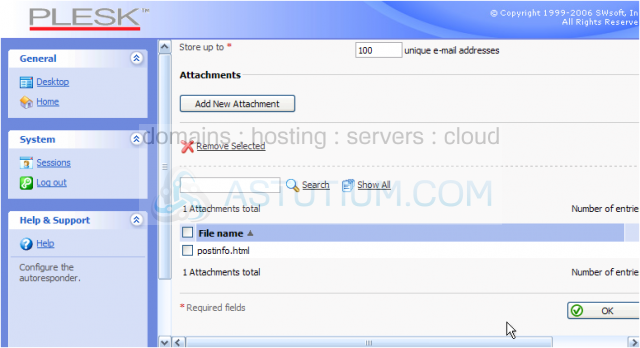
Scroll down
Although the new autoresponder has been configured, there is one final step..... we now have to enable the new autoresponder
17) Select the new autoresponder by clicking here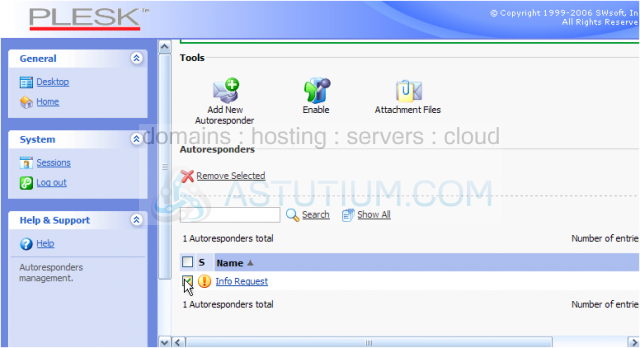
18) Then click Enable
That's it! The new autoresponder has been setup, and enabled
This is the end of the tutorial. You now know how to setup autoresponders in Plesk