WHM 11 services series
5. How to manage the SSL certificates used by your services in WHM
Whenever you, your clients, or their visitors access a service through an encrypted connection (such as with HTTPS or FTPS), that connection is typically made using a protocol known as SSL.
Both SSL and its successor, TLS, function using certificates that can be created on any computer. When you create your own, the certificate is known as a self-signed certificate.
Businesses will often purchase an SSL certificate from a reliable source, such as Verisign or Trustwave, so that customers are assured that their transactions are as secure as possible.
Many of WHM's services function using SSL or TLS. Self-signed certificates for these services are produced during the installation of WHM.
Unless your SSL certificates are created specifically for a domain name, a visitor will be warned that the domain on the certificate does not match the domain name they're connecting to. This is for security purposes.
If you change your server's hostname, you'll need to update all of the services' certificates. This will prevent clients and their visitors from being scared away by warning messages.
1) Go to Service Configuration....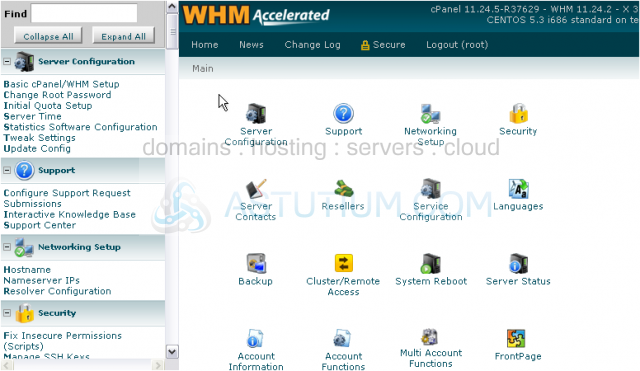
2) ...then Manage Service SSL Certificates.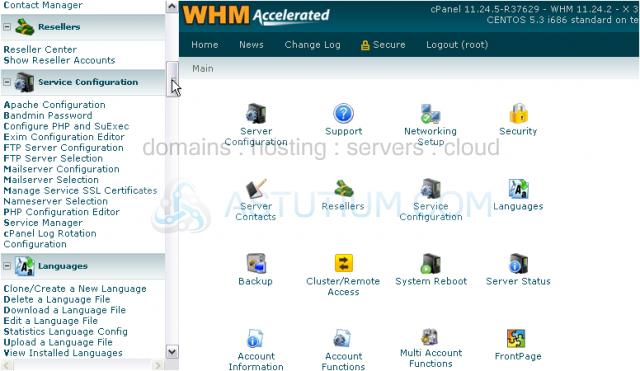
You'll see a list of services, a description of the certificate currently assigned to each service, as well as a few actions you can perform for each one.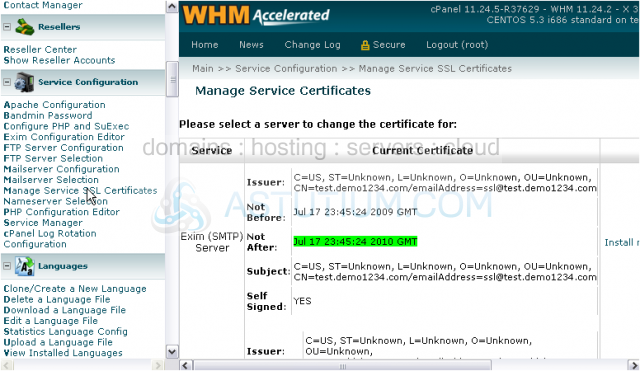
Let's reset the certificate for the outgoing mail (or SMTP) server.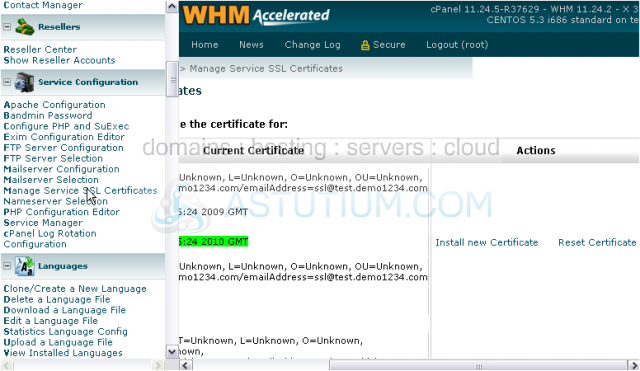
For Apache, you must assign SSL certificates on a per-domain basis; it cannot be done here. Pretty much all other publicly-accessible service has a certificate listed here.
You can install an existing certificate using this link -- whether professionally signed or not -- but we won't be doing that in this tutorial.
3) Click Reset Certificate.
This feature will create a new self-signed certificate for Exim, the SMTP server. The previously-installed certificate will no longer exist.
4) Click this button to proceed.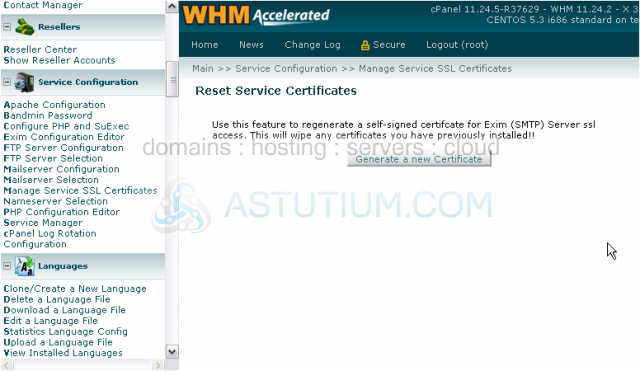
The certificate will be created, then the service will be reconfigured and restarted.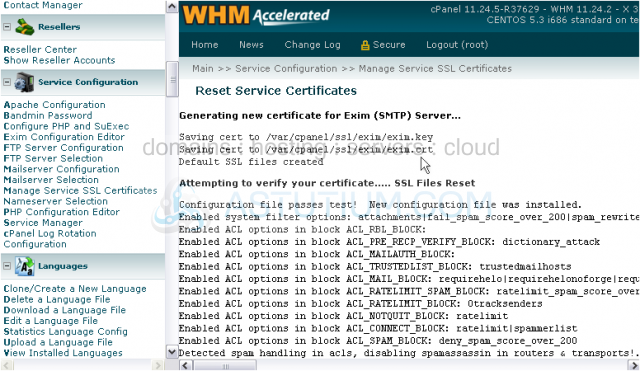
5) Click this link to return to the service certificates page.
That's it! The certificate was successfully reset. You'll have to repeat these steps with each service every time you change your server's hostname.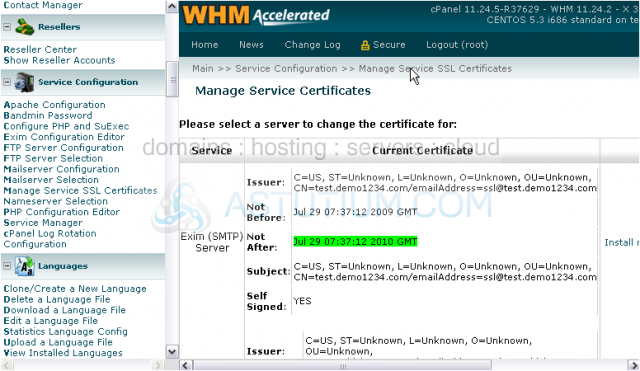
This is the end of the tutorial. Now you know how to manage the SSL certificates used by your services in WHM.