SmarterMail 10 series
5. How to create Appointments in SmarterMail
This tutorial assumes that you have already logged into your SmarterMail account
1) To create a new Appointment, select the icon for Calendar in the left navigation toolbar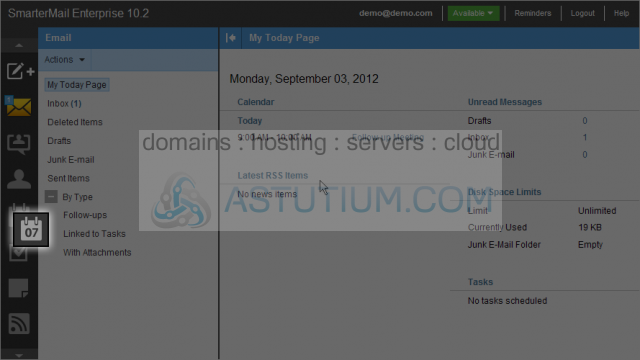
2) Let's move the calendar ahead one day by clicking the forward arrow
Here we see the Daily appointments view. You can change the current view by selecting any of the other calendar view tabs
3) To create a new appointment for the current day select a time and click on it or click on the New button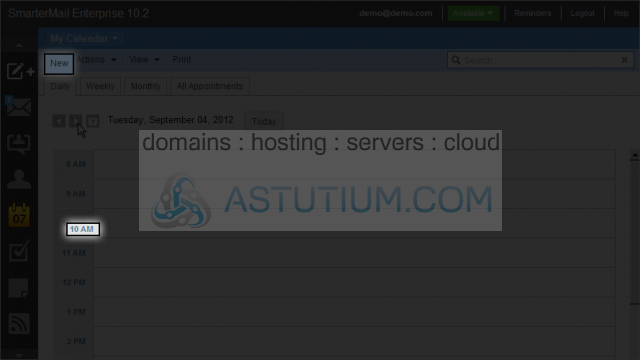
4) Select a Subject and enter it here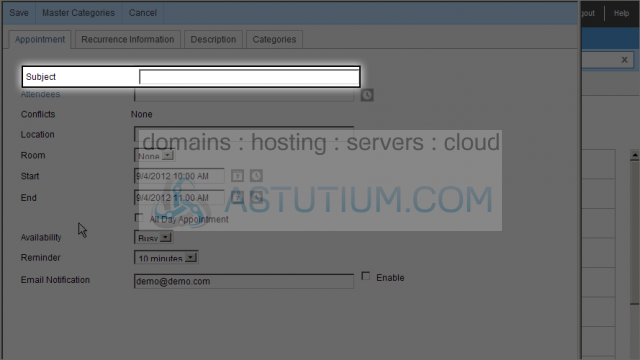
5) Let's select the Attendees for this appointment/meeting. Click on the Attendees link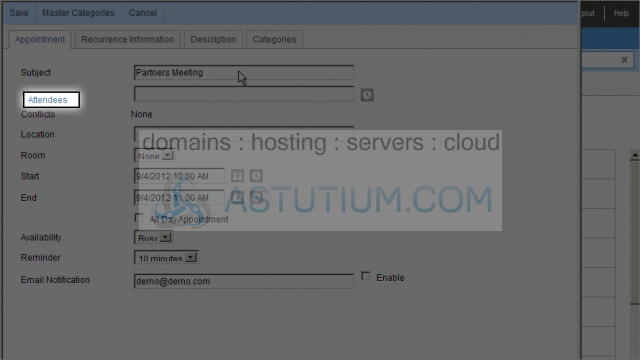
6) Select the attendees by checkmarking each one and then clicking the OK button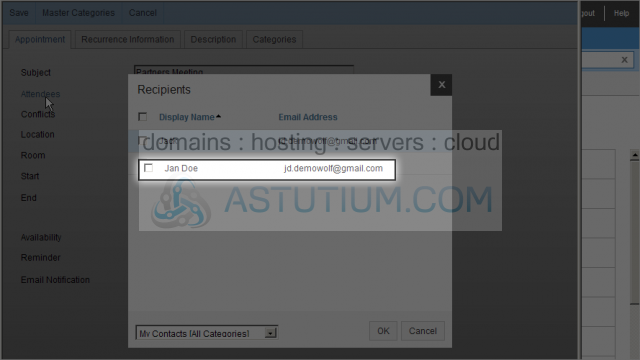
7) Select a Start and End date and time using the date and time selectors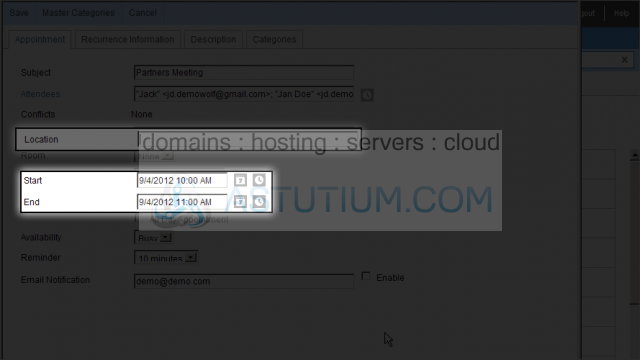
8) Enter the Location information for this appointment
9) We'll select a time for our Reminder next
10) Checkmark Enable to be sent an Email Notification reminder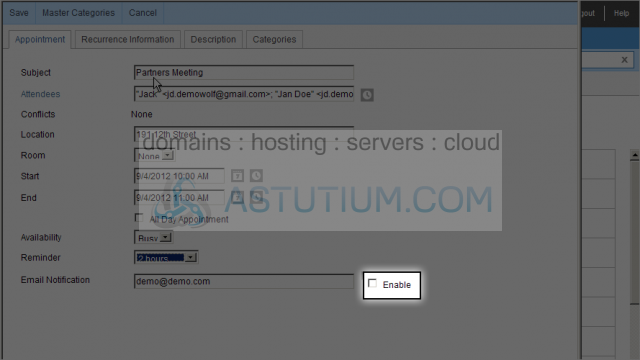
11) Click on the Recurrence Information tab to select a recurring appointment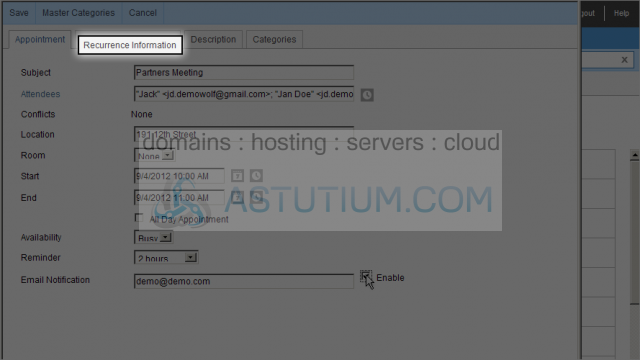
12) To add descriptive information for this appointment, click on the Description tab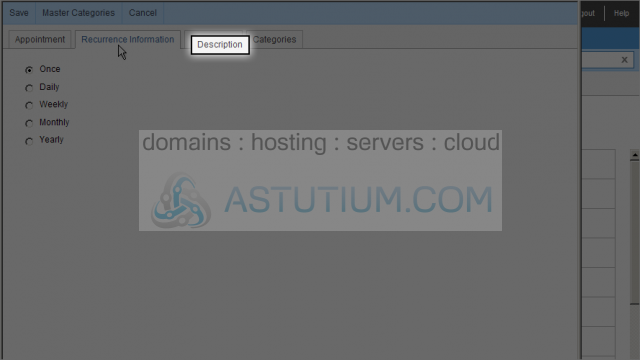
13) To select a category, click on the Categories tab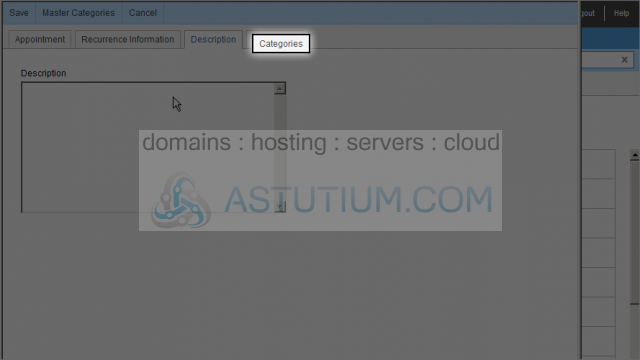
14) Now click on the Save button to save this appointment
Here we can see our new appointment listed
15) Click on the All Appointments tab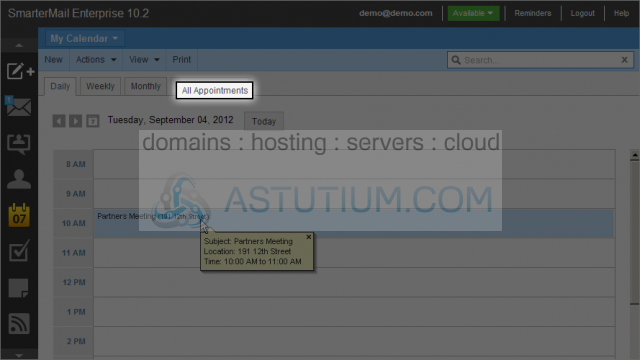
16) Select the Daily, Weekly or Monthly tab to view appointments in those formats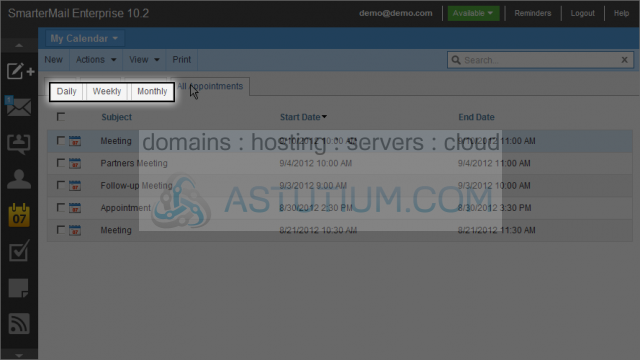
You now know how to create Appointments in SmarterMail