Complete FTP series
18. Uploading files using FlashFXP
This tutorial assumes you already have FlashFXP and have it running on your computer, but not connected to another server.
Now let's learn how to upload or transfer files from our computer to a remote server.
1) Click the Sites menu.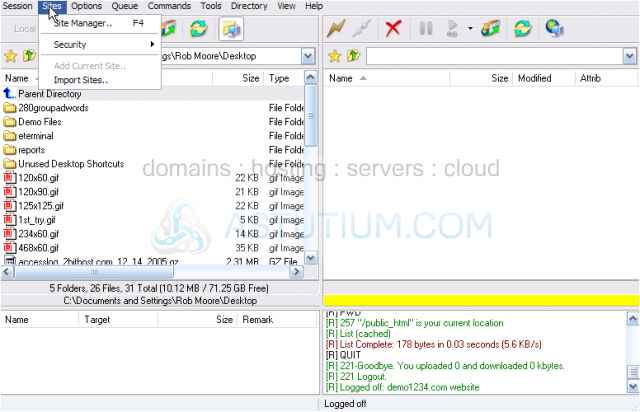
2) Then select Site Manager.
3) Before connecting to a remote server, we want to double check it's settings. This is the site we want to connect to. Once we're sure all the settings on the right are correct (ftp.demo1234.com, username and password), click the Close button.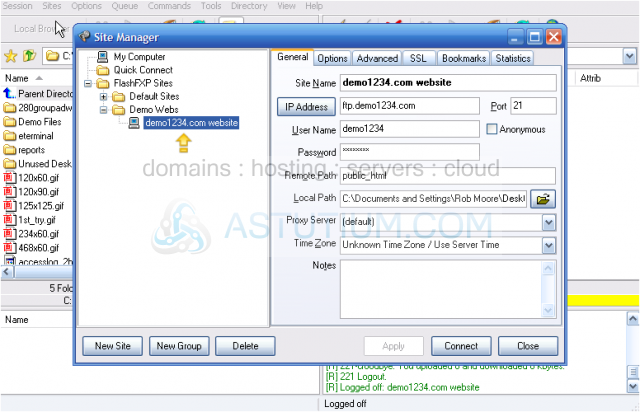
4) To establish a connection to a remote server, click this "lightning bolt" icon.
5) Locate the site we want to connect to.... click Demo Webs. Then select demo1234.com website.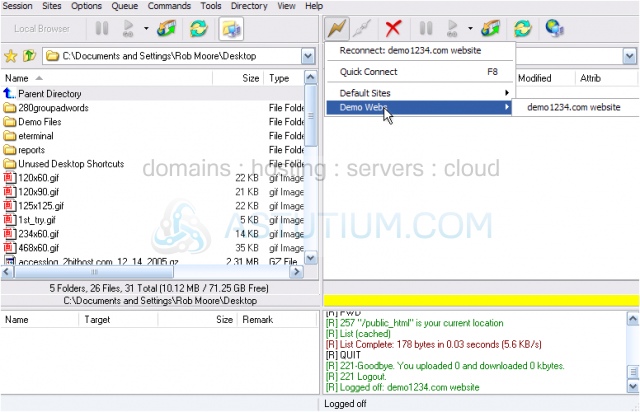
Success! We've established a connection with the remote website at demo1234.com. This right window lists the files and folders on the remote server (or website), while this left window lists the files and folders in our local computer.
6) Double Click the Demo Files folder to navigate to that location.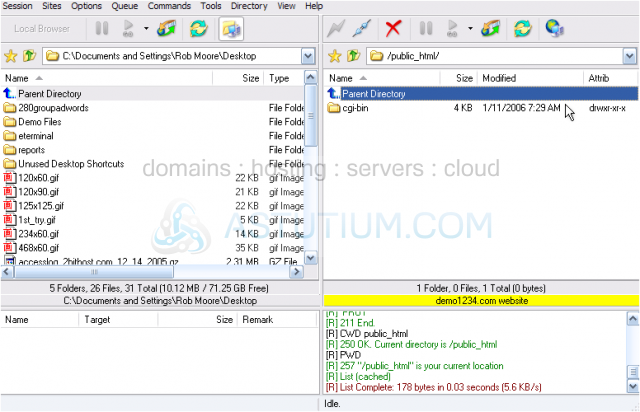
Now all the files located inside the Demo Files folder are listed in this left window.
7) Select favorite.htm.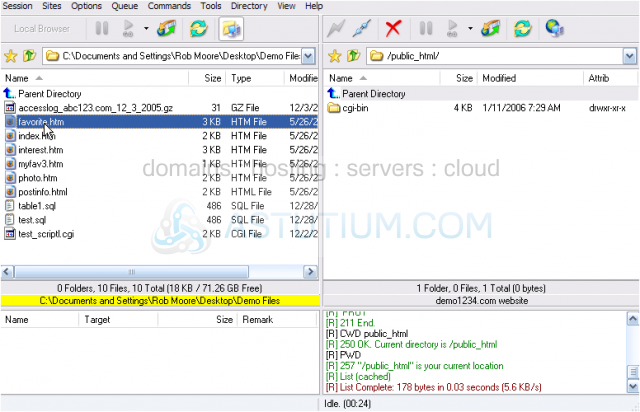
8) Right click the file name.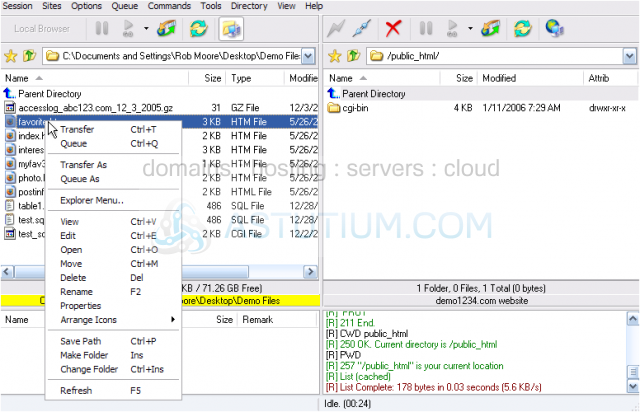
9) Then click Transfer in the drop down menu.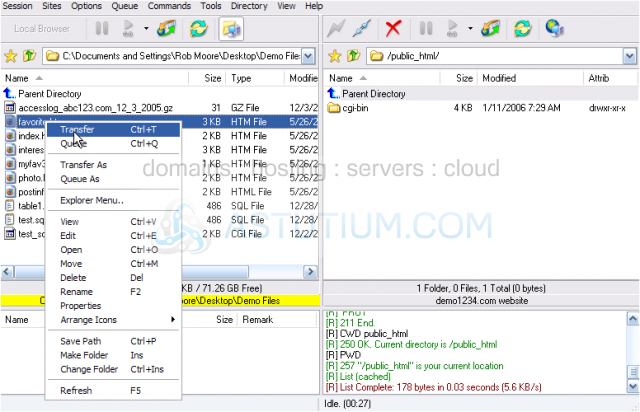
That's it! The file favorite.htm has been uploaded to the remote server, and can now be seen here.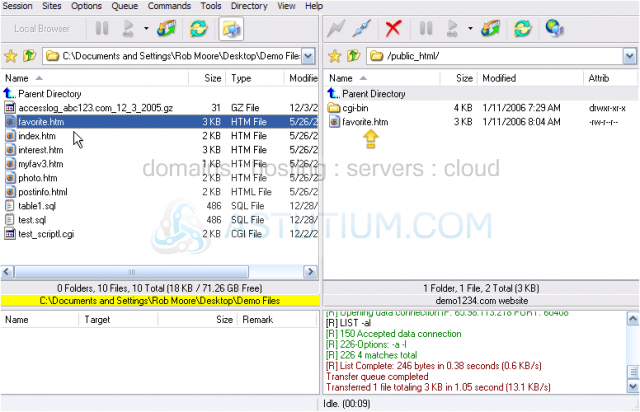
10) Now let's create a new folder on the remote server.... right click anywhere in this right window.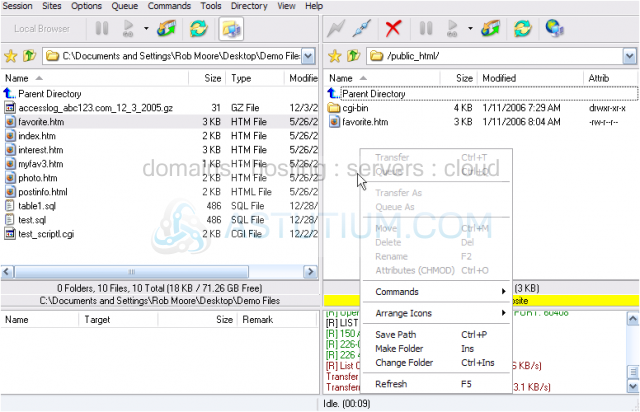
11) Then select the Make Folder option.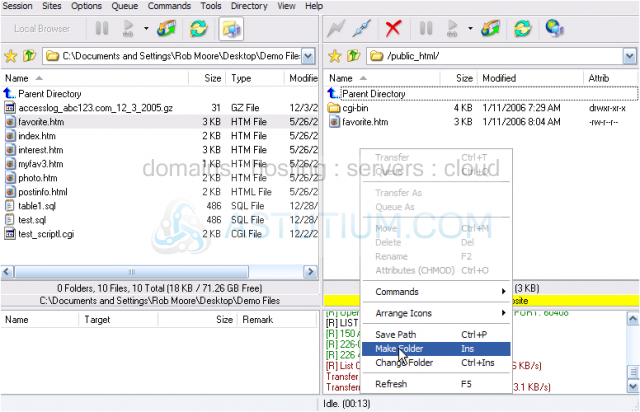
12) Type the name of the new folder here. Then click OK.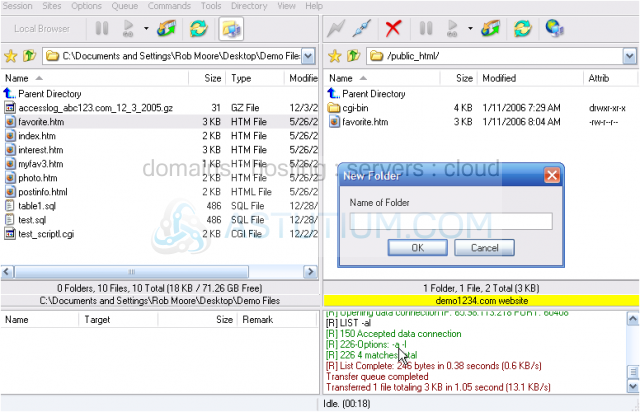
There's the new folder.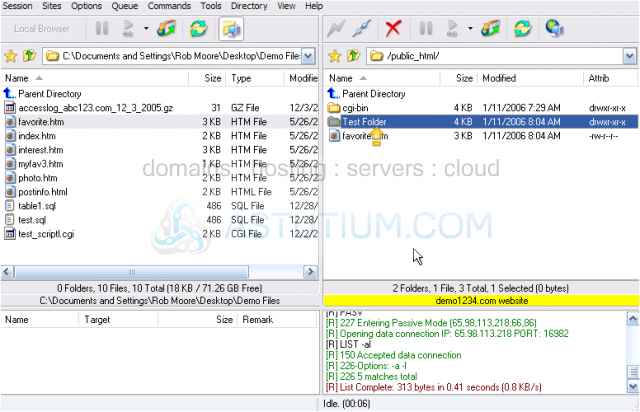
13) Double click the new folder to navigate into it. You can see here that we are now viewing the inside of the new folder, Test Folder.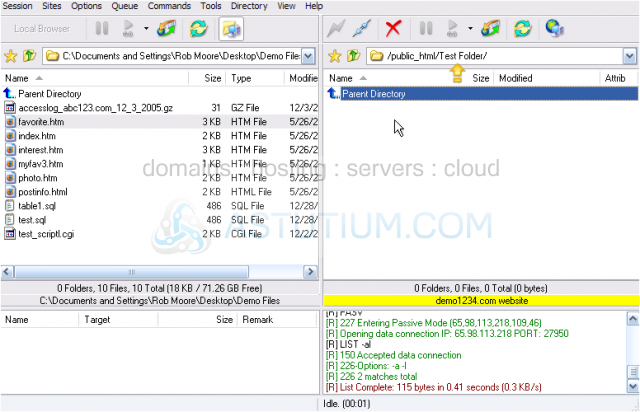
Now let's upload a file to this new folder.....
14) Select index.htm.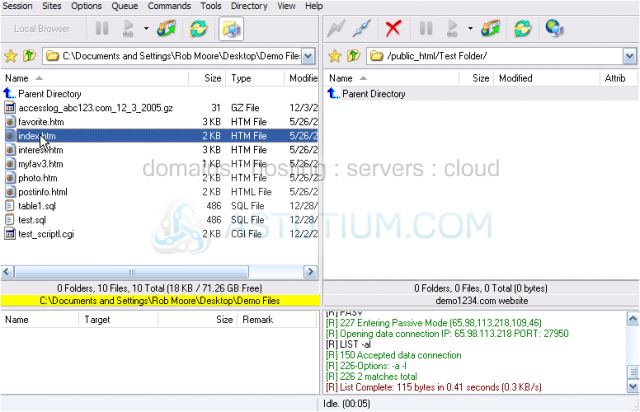
15) Instead of right clicking the file name, let's transfer the file by using the "transfer" icon. Let's click it now.
The file has been uploaded, and is now listed here in the remote server window.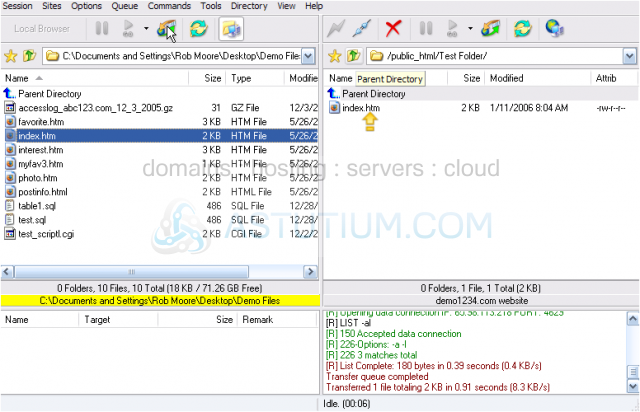
16) Now let's navigate back to the public_html folder. Click the Parent Directory icon.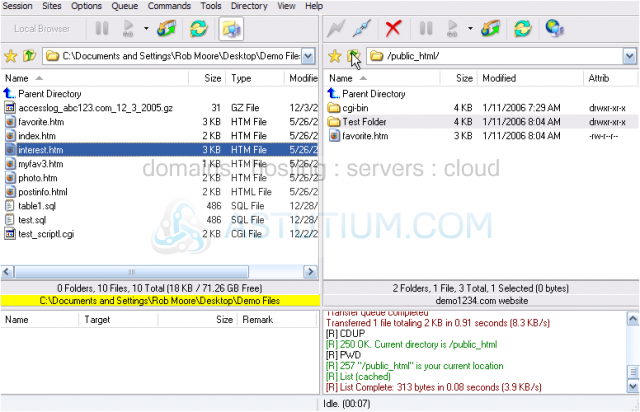
17) Now select several files to upload at once by clicking the first file, holding down the SHIFT, and the selecting the last file to be uploaded.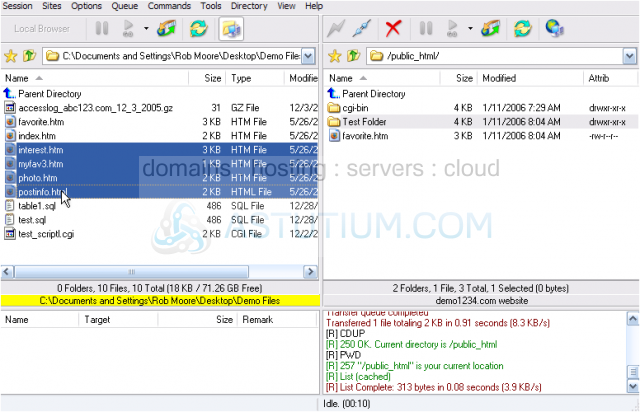
18) Then click the transfer icon.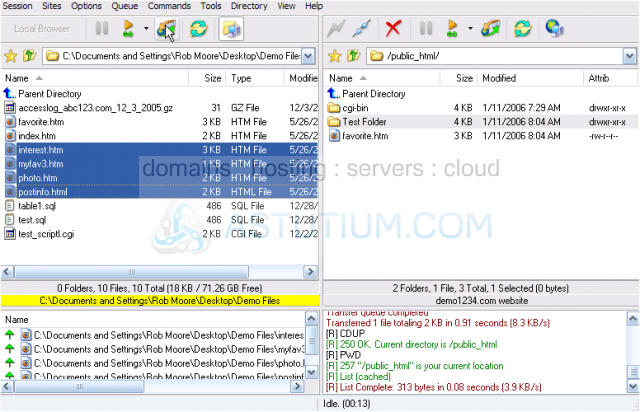
19) All 4 files have been uploaded, and are now listed here in the right window, the remote server contents window. We can also transfer files from the remote server, back to our computer. Select a file to transfer. Then click the transfer icon.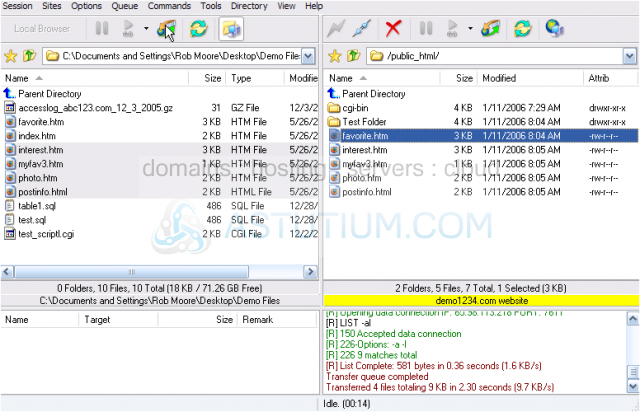
Since the file already exists at the destination, we have to confirm that we indeed want to transfer the file and overwrite the existing file.
20) Click Overwrite.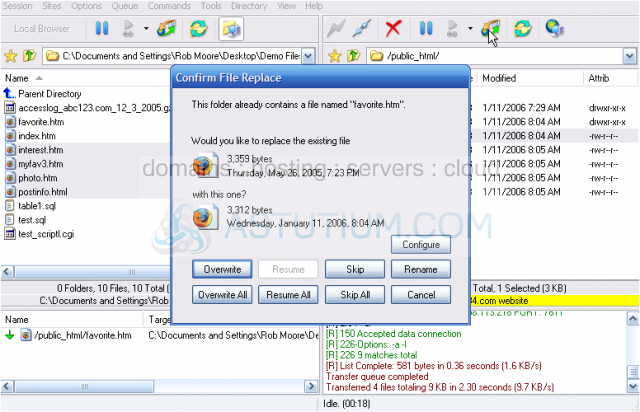
We've successfully transferred the file back to our computer.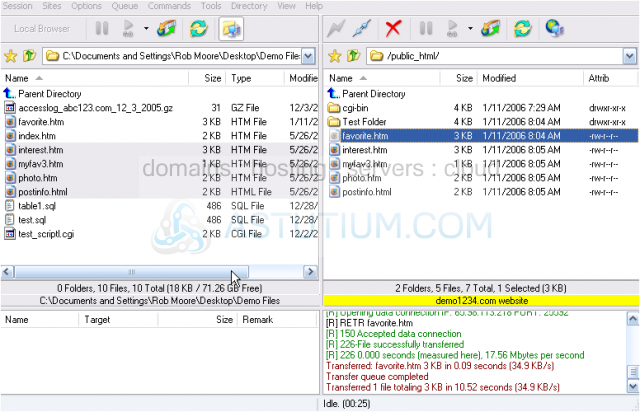
Now let's quickly learn how to change the permissions of a file on the server.
21) Select the file we want to change the permissions (or attributes) of.....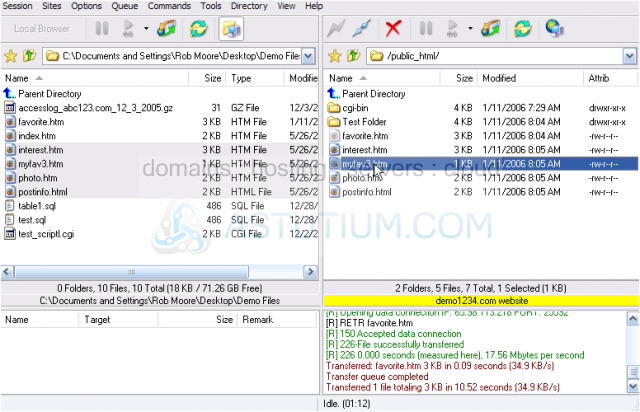
22) Then right click the file name.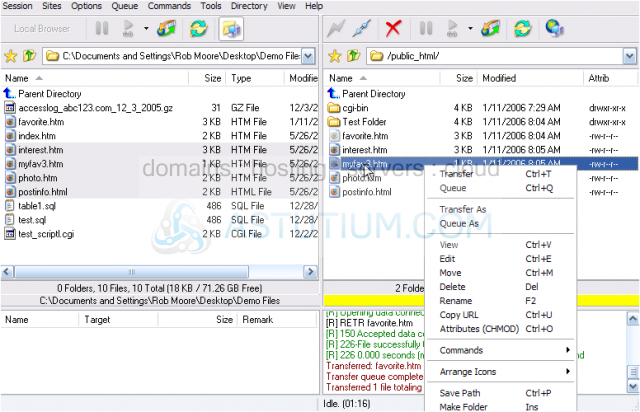
23) Select the Attributes (CHMOD) option.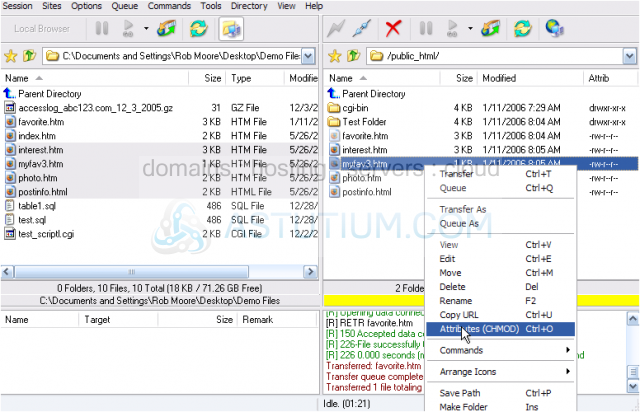
24) Now change the permissions as per your requirements.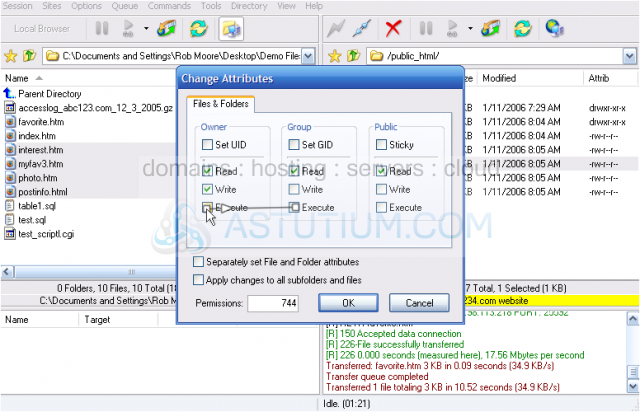
25) When finished, click OK.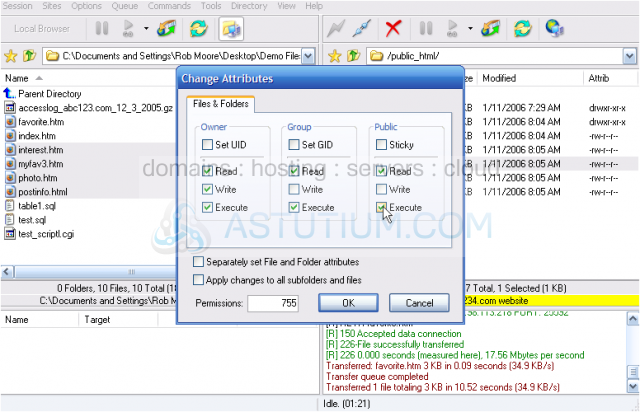
Notice the file permissions have been changed, and are displayed here.
26) To rename a folder, right click it.....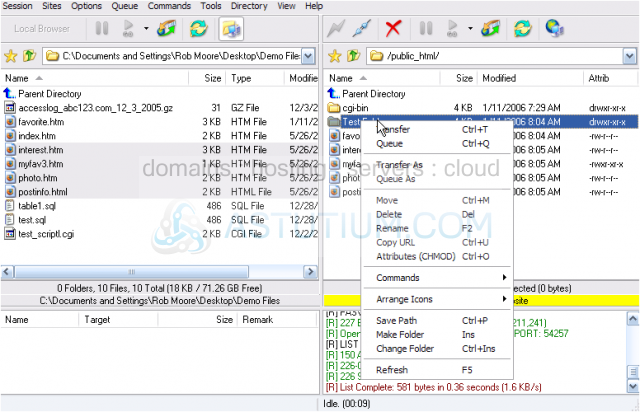
27) Then select Rename from the drop down menu.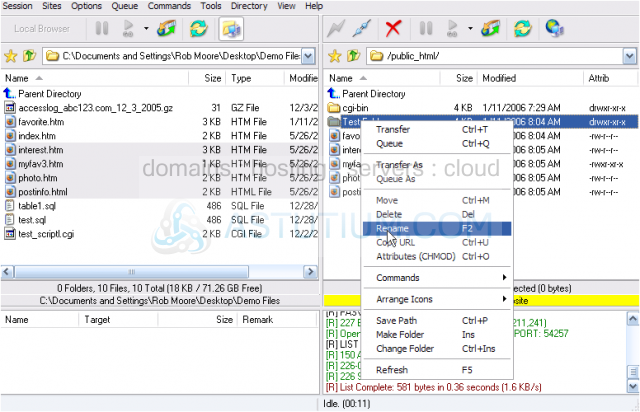
28) Enter the new name for the folder.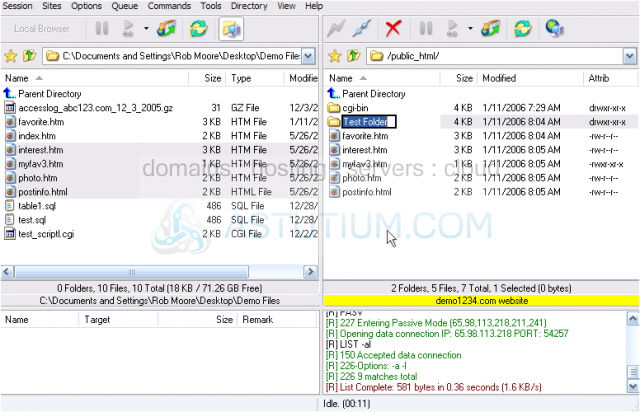
The folder has been renamed.
29) When you're finished working and want to disconnect from the remote website or server, click the disconnect icon here.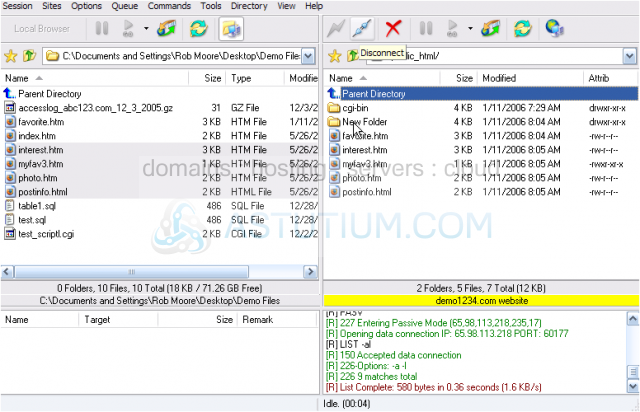
This is the end of the tutorial. You should now know how to establish an FTP connection with FlashFXP, and upload or transfer files to/from your computer.